Hi, all!Have I ever mentioned that we have some great scrap quilters here in Tennessee? And one of my favorites is Tracy of Tracy's Bits N Pieces. We met several years ago at a Jen Kingwell trunk show in Nashville, and I've followed her on Instagram (@tracysbitsnpieces) ever since. Her feed is a constant source of inspiration! So when I saw this quilt pop up....
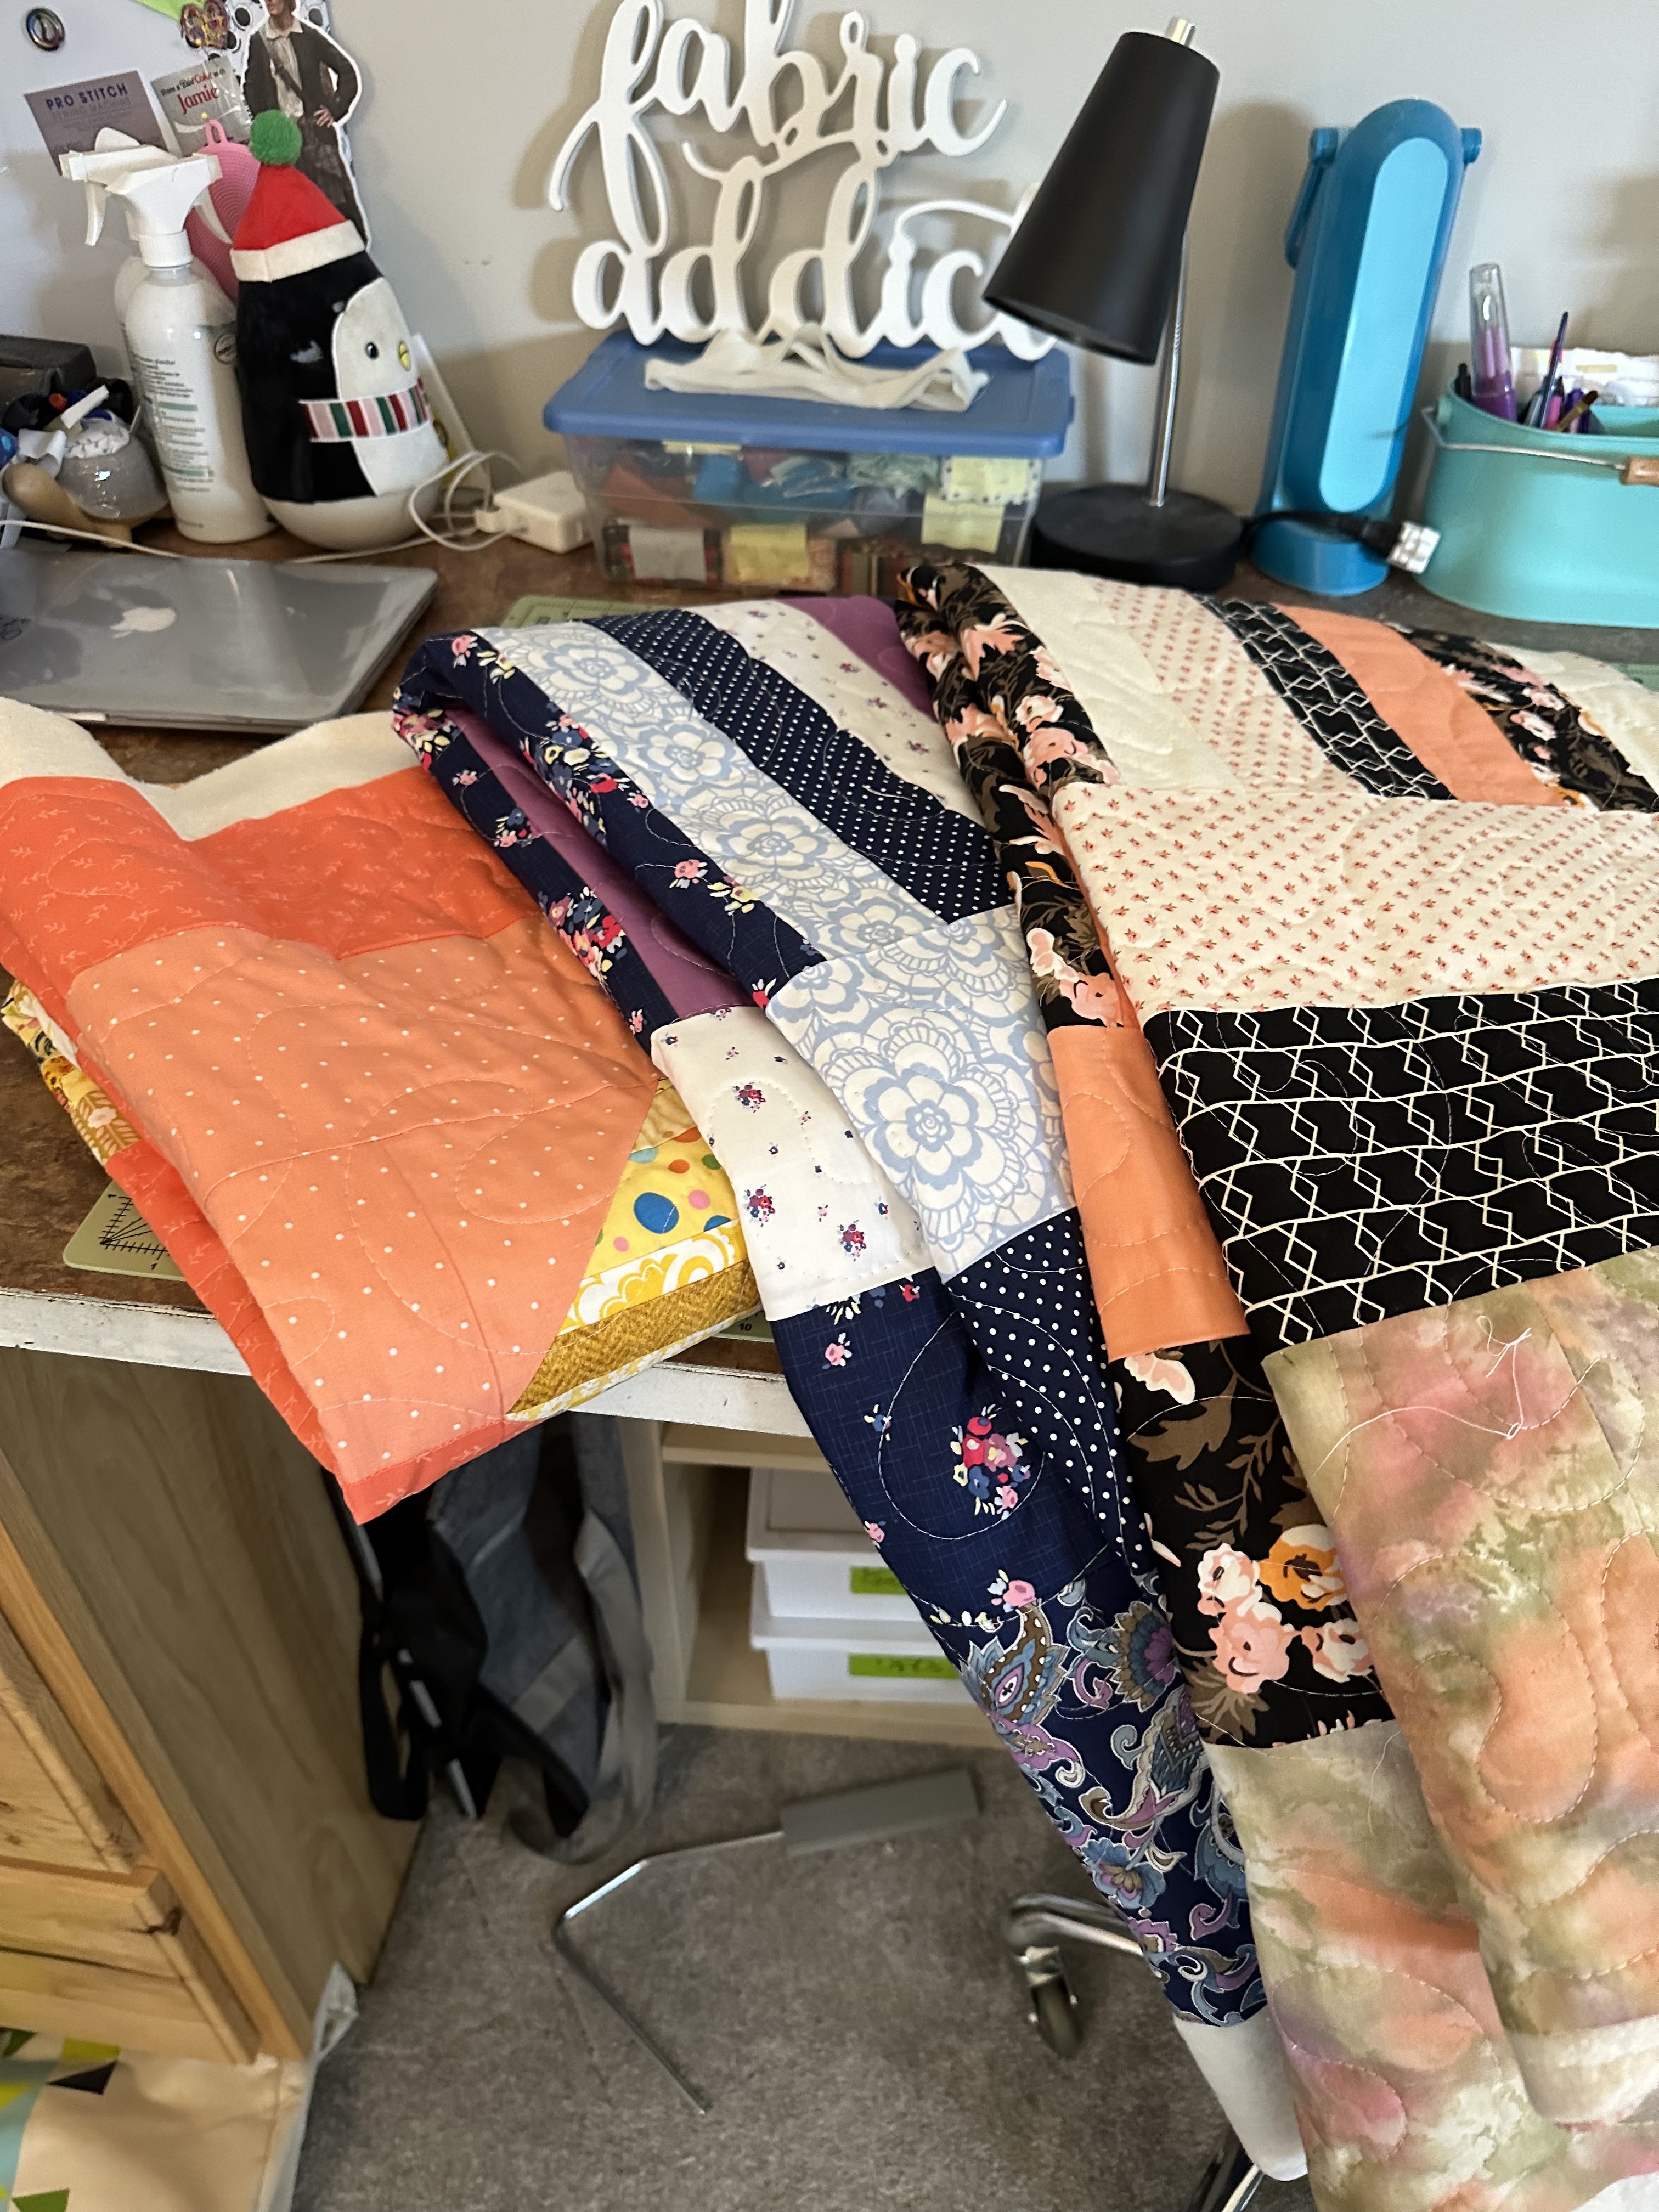
...I was (a) immediately enchanted, and (b) messaging Tracy to see if she minded if I created my own version for this tutorial series! She graciously agreed, and suggested that I check out the quilt she made with the pieces she cut off of her string blocks while making the hearts. Check this out!

Does anyone besides me remember the Certs commercials - "two, two, two mints in one"? I love when you can get two quilts from one!
And if you are like me, you are drowning in strings! I have a hard time throwing any fabric away, and strings seem to be common, and also easy to store. I have mine sorted by color in this wonderful set of storage drawers given to me by a friend. It took Lilli and me a while to do the pressing and sorting, but now they are all ready for use - so let's use them!
Although Tracy used red and cream for her hearts, I would think you could use any color combination you prefer. So see what you have a lot of in your strings storage and drag them out!
And I'm going to make a confession right here, right now - my nickname could be "Short Attention Span Sallie"! So my version won't have as many string blocks as Tracy's does. I get bored easily!

So here's the way to make my version of Pulling My Heart Strings...
Step 1 - take sheets of paper, as thin as you can find (phone books are ideal but a lot harder to find these days!) and cut 28 5.5" x 8.5" pieces. Yes, that's half of a piece of copier paper. Makes it easy, doesn't it? I used an old pad of tracing paper I found in a drawer.

Step 2 - Set your sewing machine stitch fairly short, dip into those strings and start sewing them to the paper in the direction of the long edge. String blocks are low stress - it doesn't matter if your seam allowances are perfect or your seams exactly straight, as long as you completely cover the paper.

I start with a strip in the center, then sew another strip to each side because I also recommend pressing after you add each piece, so your block is nice, flat and square when you finish pulling the paper off. Starting in the center means you can sew two seams before pressing!
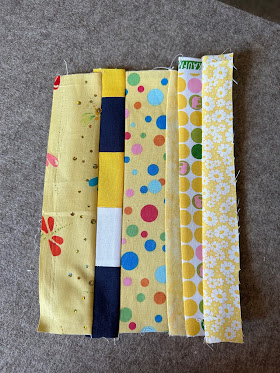
Make 28 of these.


Flip the blocks over, tear away the foundation paper, then trim them to 5.5" x 8.5".
Step 3 - From your light colored background fabric, cut 6 5.5" squares and 12 2" squares. From your dark-colored background fabric, cut 22 5.5" squares and 44 2" squares.
Step 4 - The Left Side of The Heart - lay the 5.5" square on the lower left corner of the block, matching the left and lower edges. Stitch diagonally from corner to corner. You may find it easier to mark the stitching line, with a pencil or Hera marker, prior to stitching. Now, if you plan to use your bonus triangles in another quilt, stitch about 3/8-1/2" away from that stitching line (closer to the outer corner). This way you can just cut between the two lines of stitching and your HST block all sewn together and ready for trimming! Take the 2" squares and lay them on the right and left upper corners, lining up the edges of the squares with the block. Stitch diagonally from corner to corner. (These "bonus" blocks would be so tiny that I don't usually save them.) Cut 1/4" from the stitching line on the corner side of the stitching line. Press the background triangles out, being careful not to distort the block. Make three of these blocks with light backgrounds and 11 with dark backgrounds.
Step 5 - The Right Side of the Heart - lay the 5.5" square on the lower right corner of the block, matching the right and lower edges. Stitch diagonally from corner to corner. Now, if you plan to use your bonus triangles in another quilt, stitch about 3/8-1/2" away from that stitching line (closer to the outer corner). Trim either between the stitching lines or about 1/4" from your line of stitching. Now take the 2" squares and lay them on the right and left upper corners, lining up the edges of the squares with the block. Stitch diagonally from corner to corner. Cut 1/4" from the stitching line on the corner side of the stitching line. Press the background triangles out, being careful not to distort the block. Make three of these blocks with light backgrounds and 11 with dark backgrounds.

Step 6 - Take the half-heart blocks to the cutting board. We are going to trim a half-inch off the OUTSIDE edge of the heart so that your final block will be 5" x 8.5". Be sure you trim it off the outside edge and not the center!
Step 6 - Matching the blocks along the long center line, pair 3 light lefts with 3 dark rights, 3 dark lefts with 3 light rights, and 8 dark rights with 8 dark lefts. Sew the hearts together. Press the seams to the right.
And voila! Your heart blocks are made and you've finished the hardest part of the quilt. That wasn't so bad, was it?
Now we assemble the quilt.
You will need 6 light background pieces cut 5"x8.5", 2 pieces cut 5"x16.5", and two pieces measuring 5.5" x a length to be determined (can be pieced).
You will need 6 dark background pieces cut 5"x8.5", 2 pieces cut 5"x16.5", and 4 pieces measuring 5.5"x a length to be determined (can be pieced).

Take the dark and light 5"x8.5" pieces and pairing one of each, stitch on the long edge. Press seam to the left. Repeat with the 5"x16.5" pieces. Press seam to the left.
Using the two-color blocks and the two-color hearts and matching the center seams, create the right and left columns of hearts. The hearts should look like they are straddling two long strips of color. Press the seams toward the background fabric blocks.

Using the remaining eight dark background hearts and matching the lower points with the center seam of the block below, create the center column of hearts. Press the seams down. Measure the strip, top to bottom. That is how long you will make your long strips.
Take one 5.5" wide long dark piece and one 5.5" long light piece and sew them together along the long edge, being careful not to stretch the fabric as you sew. Press the seam to one side. Make 2 of these.
Now assemble the quilt, using one 5.5" wide long dark background strip, the dark/light heart column, the light/dark background column, the dark background heart column, the dark/light background column, the light/dark heart column, and the remaining 5.5" wide long dark background strip.
Step back and look at the beautiful quilt top you have assembled! And if you're so inclined, there's so much room for beautiful creative quilting on this quilt. The possibilities are endless!
I would probably use one of the two background colors to bind this quilt to allow it to kind of flow and not stop, but choose whatever makes your heart strings sing!
*&*&*&*&*&*&*
I hope you've enjoyed this scrap buster tutorial! Please stop over at Tracy's blog or Instagram and show her some love - she was so kind to allow me to take her design and run with it. I guarantee you'll be inspired!
See you next week!
Hugs!
Sarah