Showing posts with label scrappy. Show all posts

Wednesday, December 7, 2022

I May Have A Scrap Problem... Using Scraps For Good!


Hi, all!

Recently I was contacted by a nurse who works for a local oncology clinic.  She had received a quilt from our quilt ministry in the past, and thought our group might be able to help her out.  She was looking for someone who could make port pillows for them to give out to chemo patients.  Now, I had never heard of port pillows, but she sent me some pictures and I went in search of a pattern.


Port pillows are designed to attach to the strap of a seat belt and prevent the belt from irritating a port, which is implanted under the skin of the upper chest to facilitate the administration of chemo.  I found lots of patterns but found one I really liked on a website called createtodonate.org.  (FYI they also have a lot of other really good patterns if you are looking for other things to donate!)  This pattern is super simple, as you'll see below!  So here's how I made them...

The first thing you'll need is two pieces of fabric, cut 4" x 7".  I used scraps that I cut off the end of a quilt backing for this, and it was a great way to use a middling large piece of scrap!  You'll also need two pieces of sew-in hook-and-loop tape (Velcro), each 3.5" long.  It probably goes without saying, but when I refer to a "piece" of hook and loop tape, it consists of both a hook side and a loop side.
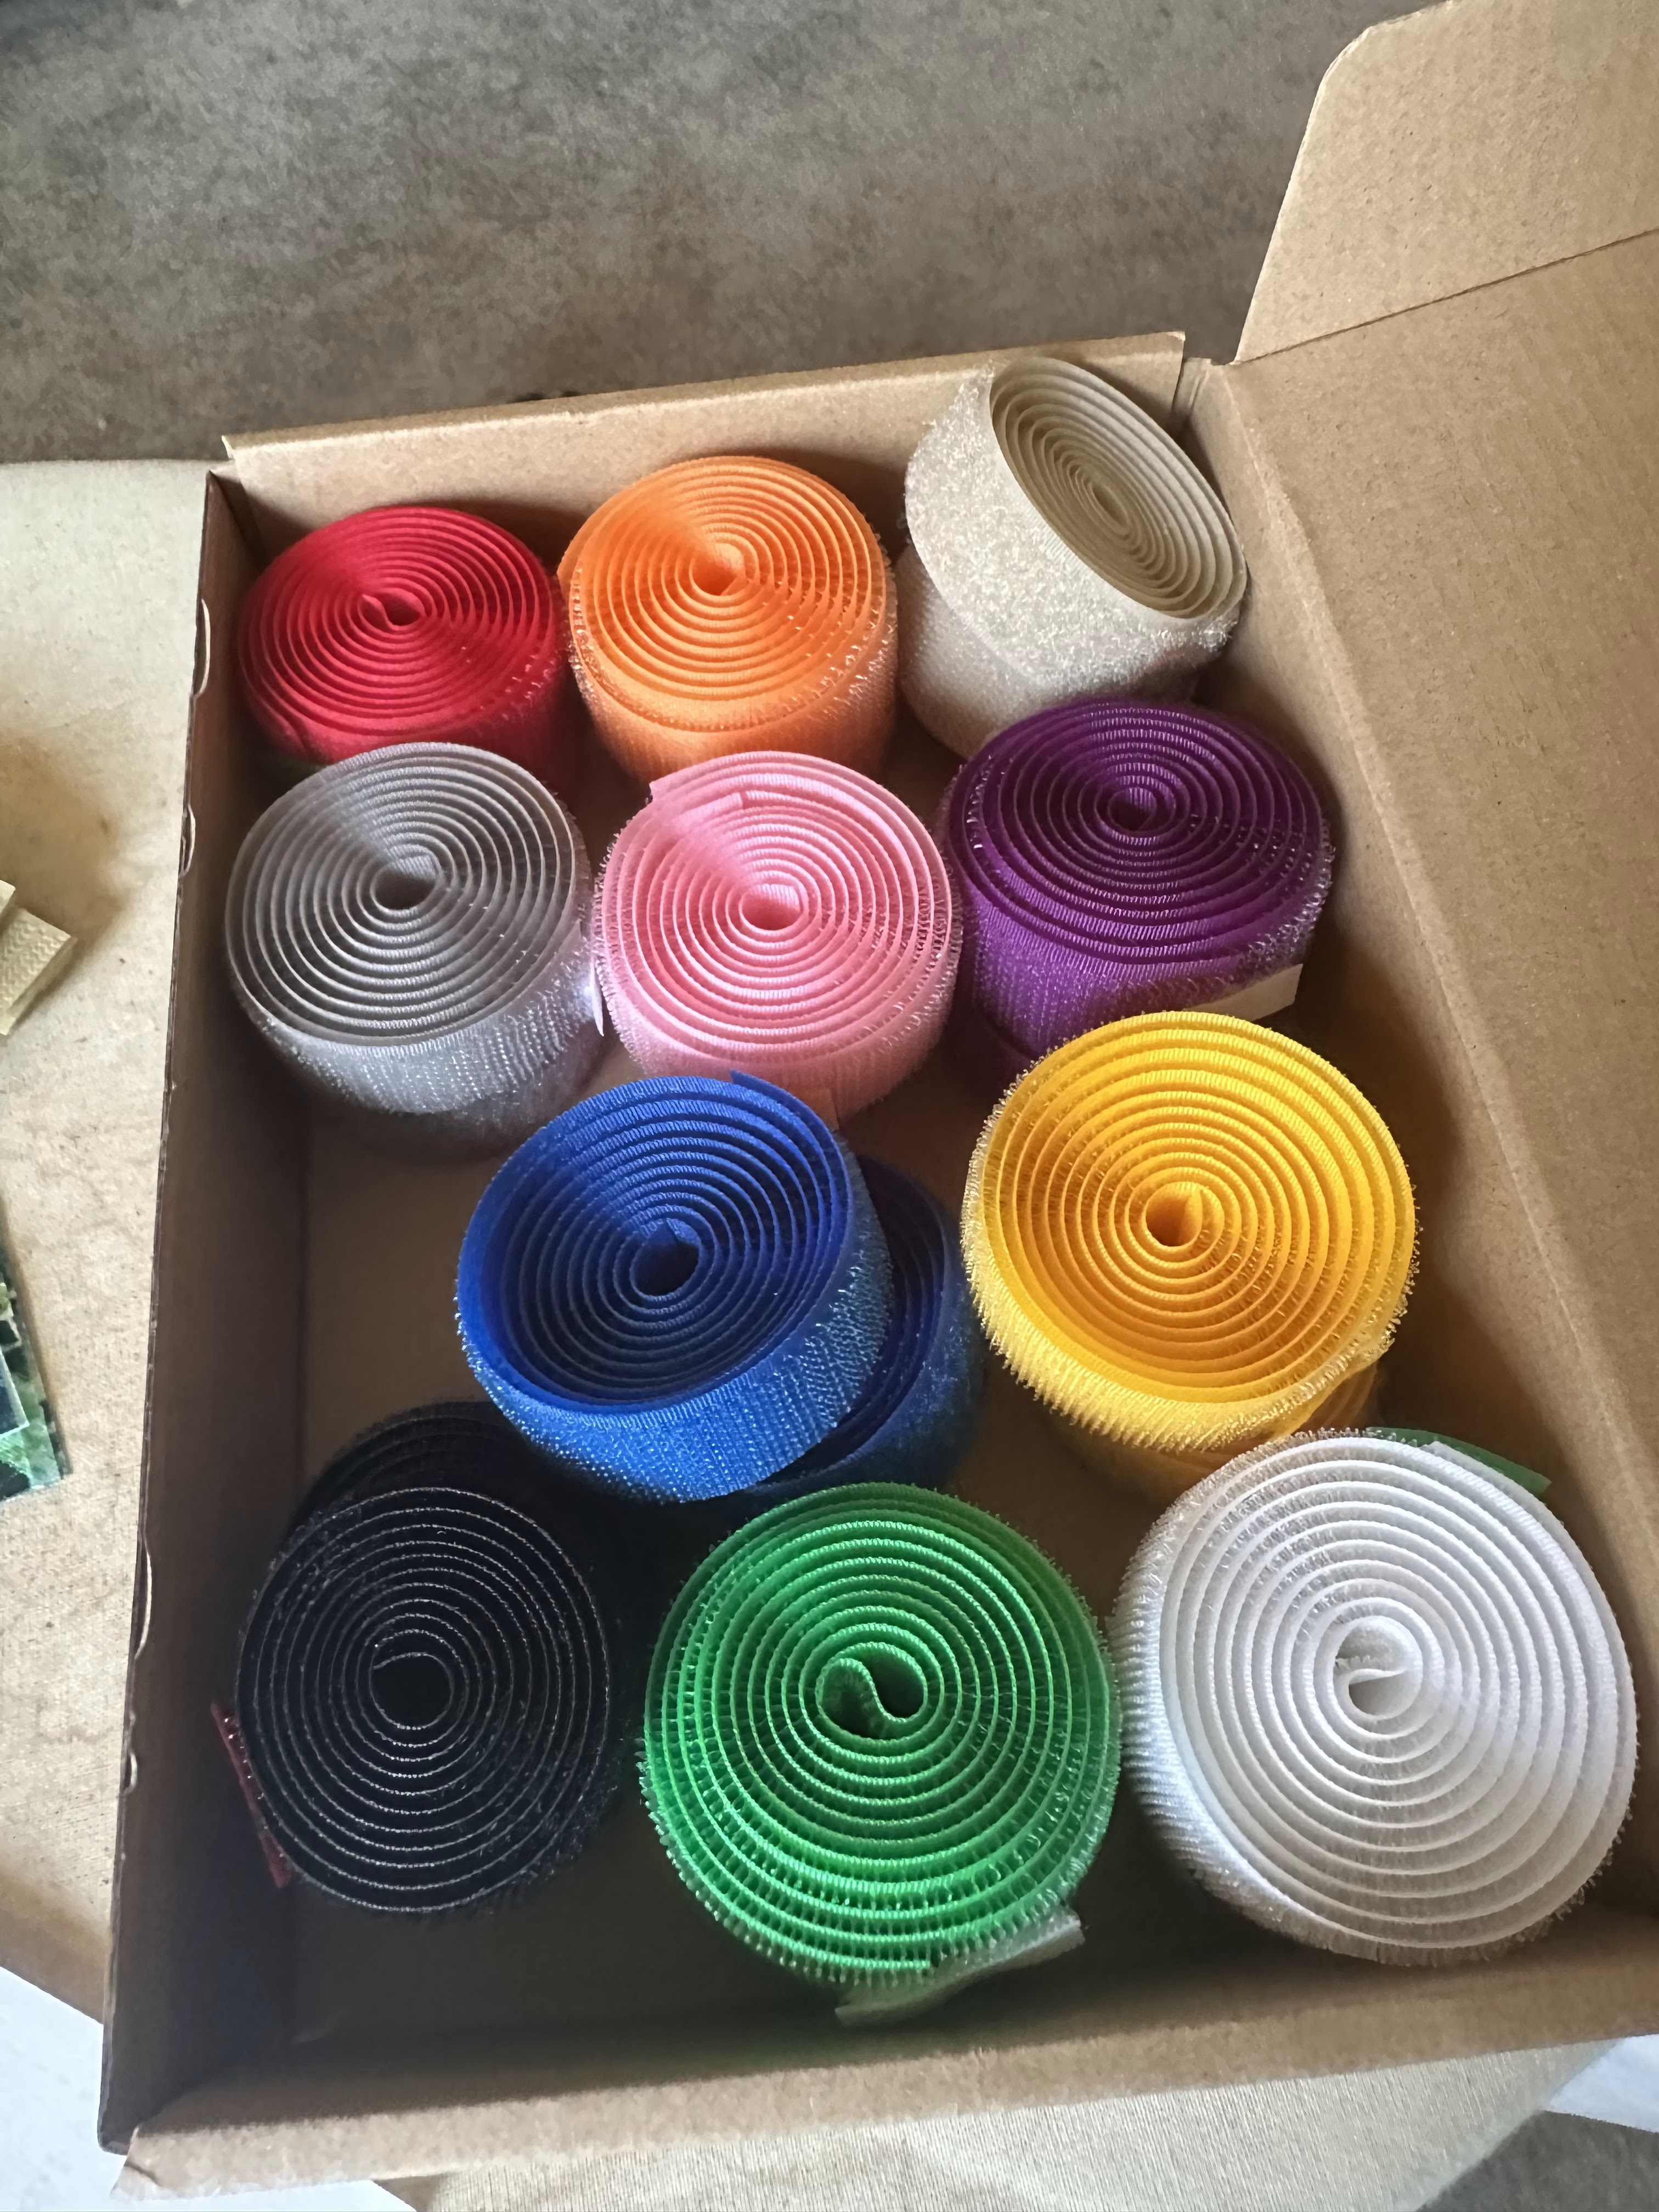
I found this nice assortment of colored hook-and-loop tape on Amazon, but be careful - they state that this is 24 yards of hook and loop tape.  However, it is 12 yards of hook (one yard each of 12 colors) and 12 yards of loop.  So essentially, it is only 12 yards of hook and loop tape.  But it was still a really good deal, price wise.  You can get five sets of two from a yard of hook and loop tape. I thought I had a really good stash of leftover hook and loop tape, but it turned out that all of mine was sticky backed - not good for this particular purpose!

There are probably many ways to attach the velcro to the fabric, but I found that by putting the two pieces together in a 4" strip, then attaching them, I didn't have to deal with it sticking together where I didn't want it to.  Fortunately, I had a 4" ruler that was perfect for this, so I laid the loop side even with one end and clipped it on, then lined the hook side up even with the other end of the ruler and carefully pressed it down on the loop side.  Now my tape was put together and not likely to catch on anything else, AND was exactly four inches long and ready to be sewn on.

With the loop side facing up and lined up with the right side of the fabric, I measured 1.5" down from the top and stitched 1/8" away from the end, just to hold it in place.  Then I flipped it around and, measuring once again, stitched down the other side.  

Repeat on the other end of the fabric so that you have two pieces of hook and loop tape attached.

Now lay your second 4"x7" piece, right sides together, on the first piece.  Pin if you feel so inclined (you can see how I pinned it above) and, leaving a 2" opening on one of the short ends, use a scant 1/2" seam to stitch the two together.

Now, this is a step I added to the on-line pattern, but I trimmed my corners diagonally, which makes it turn nicely!  I use a chopstick to turn mine, and also to stuff them, but maybe you have another trick for turning.  Do whatever works best for you!

Cheap polyester fiberfill works really well, and a one pound bag goes a long way!  I've made 18 already and haven't made a dent in my bag.

And here's the last step - sew that opening shut!  I did mine on the sewing machine - just pushed the fiberfill back, held the two edges together, and stitched right next to the edge.  If you do this, be sure to catch both edges all the way!  Or you can hand sew this seam - it only takes a few minutes.


And voila!  You have a port pillow! These are so easy and quick to make - it takes me about 10-15 minutes to make one from start to finish.  I cut out a bunch of fabric pieces and hook and loop tape strips and put them together assembly line fashion to make them in bulk.  It's a fabulous way to use up scraps - you could even sew strings together and cross-cut them into the 4"x7" pieces, or use two different fabrics for each port pillow, different on each side.  If you had a bunch of 4" orphan blocks, you could add fabric to the top and bottom to make your 4"x7" piece.  The possibilities are endless - but this can definitely be a scrap buster that will make a serious dent in your stash. And you can do good with it as well!

Want to join me in making life a little bit easier for chemo patients (and emptying your scrap bins a bit in the process)?

Hugs!

Sarah

Wednesday, November 23, 2022

I May Have A Scrap Problem... But Now A Little Less!


Hi, all!

It's been a hot minute since I posted about my scrappy endeavors, but since I hadn't had much time to work on anything scrappy, I didn't have anything interest to share.  But today I have a flimsy finished!!

Here's what it looked like Tuesday night when I shared it with my sewing sisters at church. But it was still a hair small for what we needed.


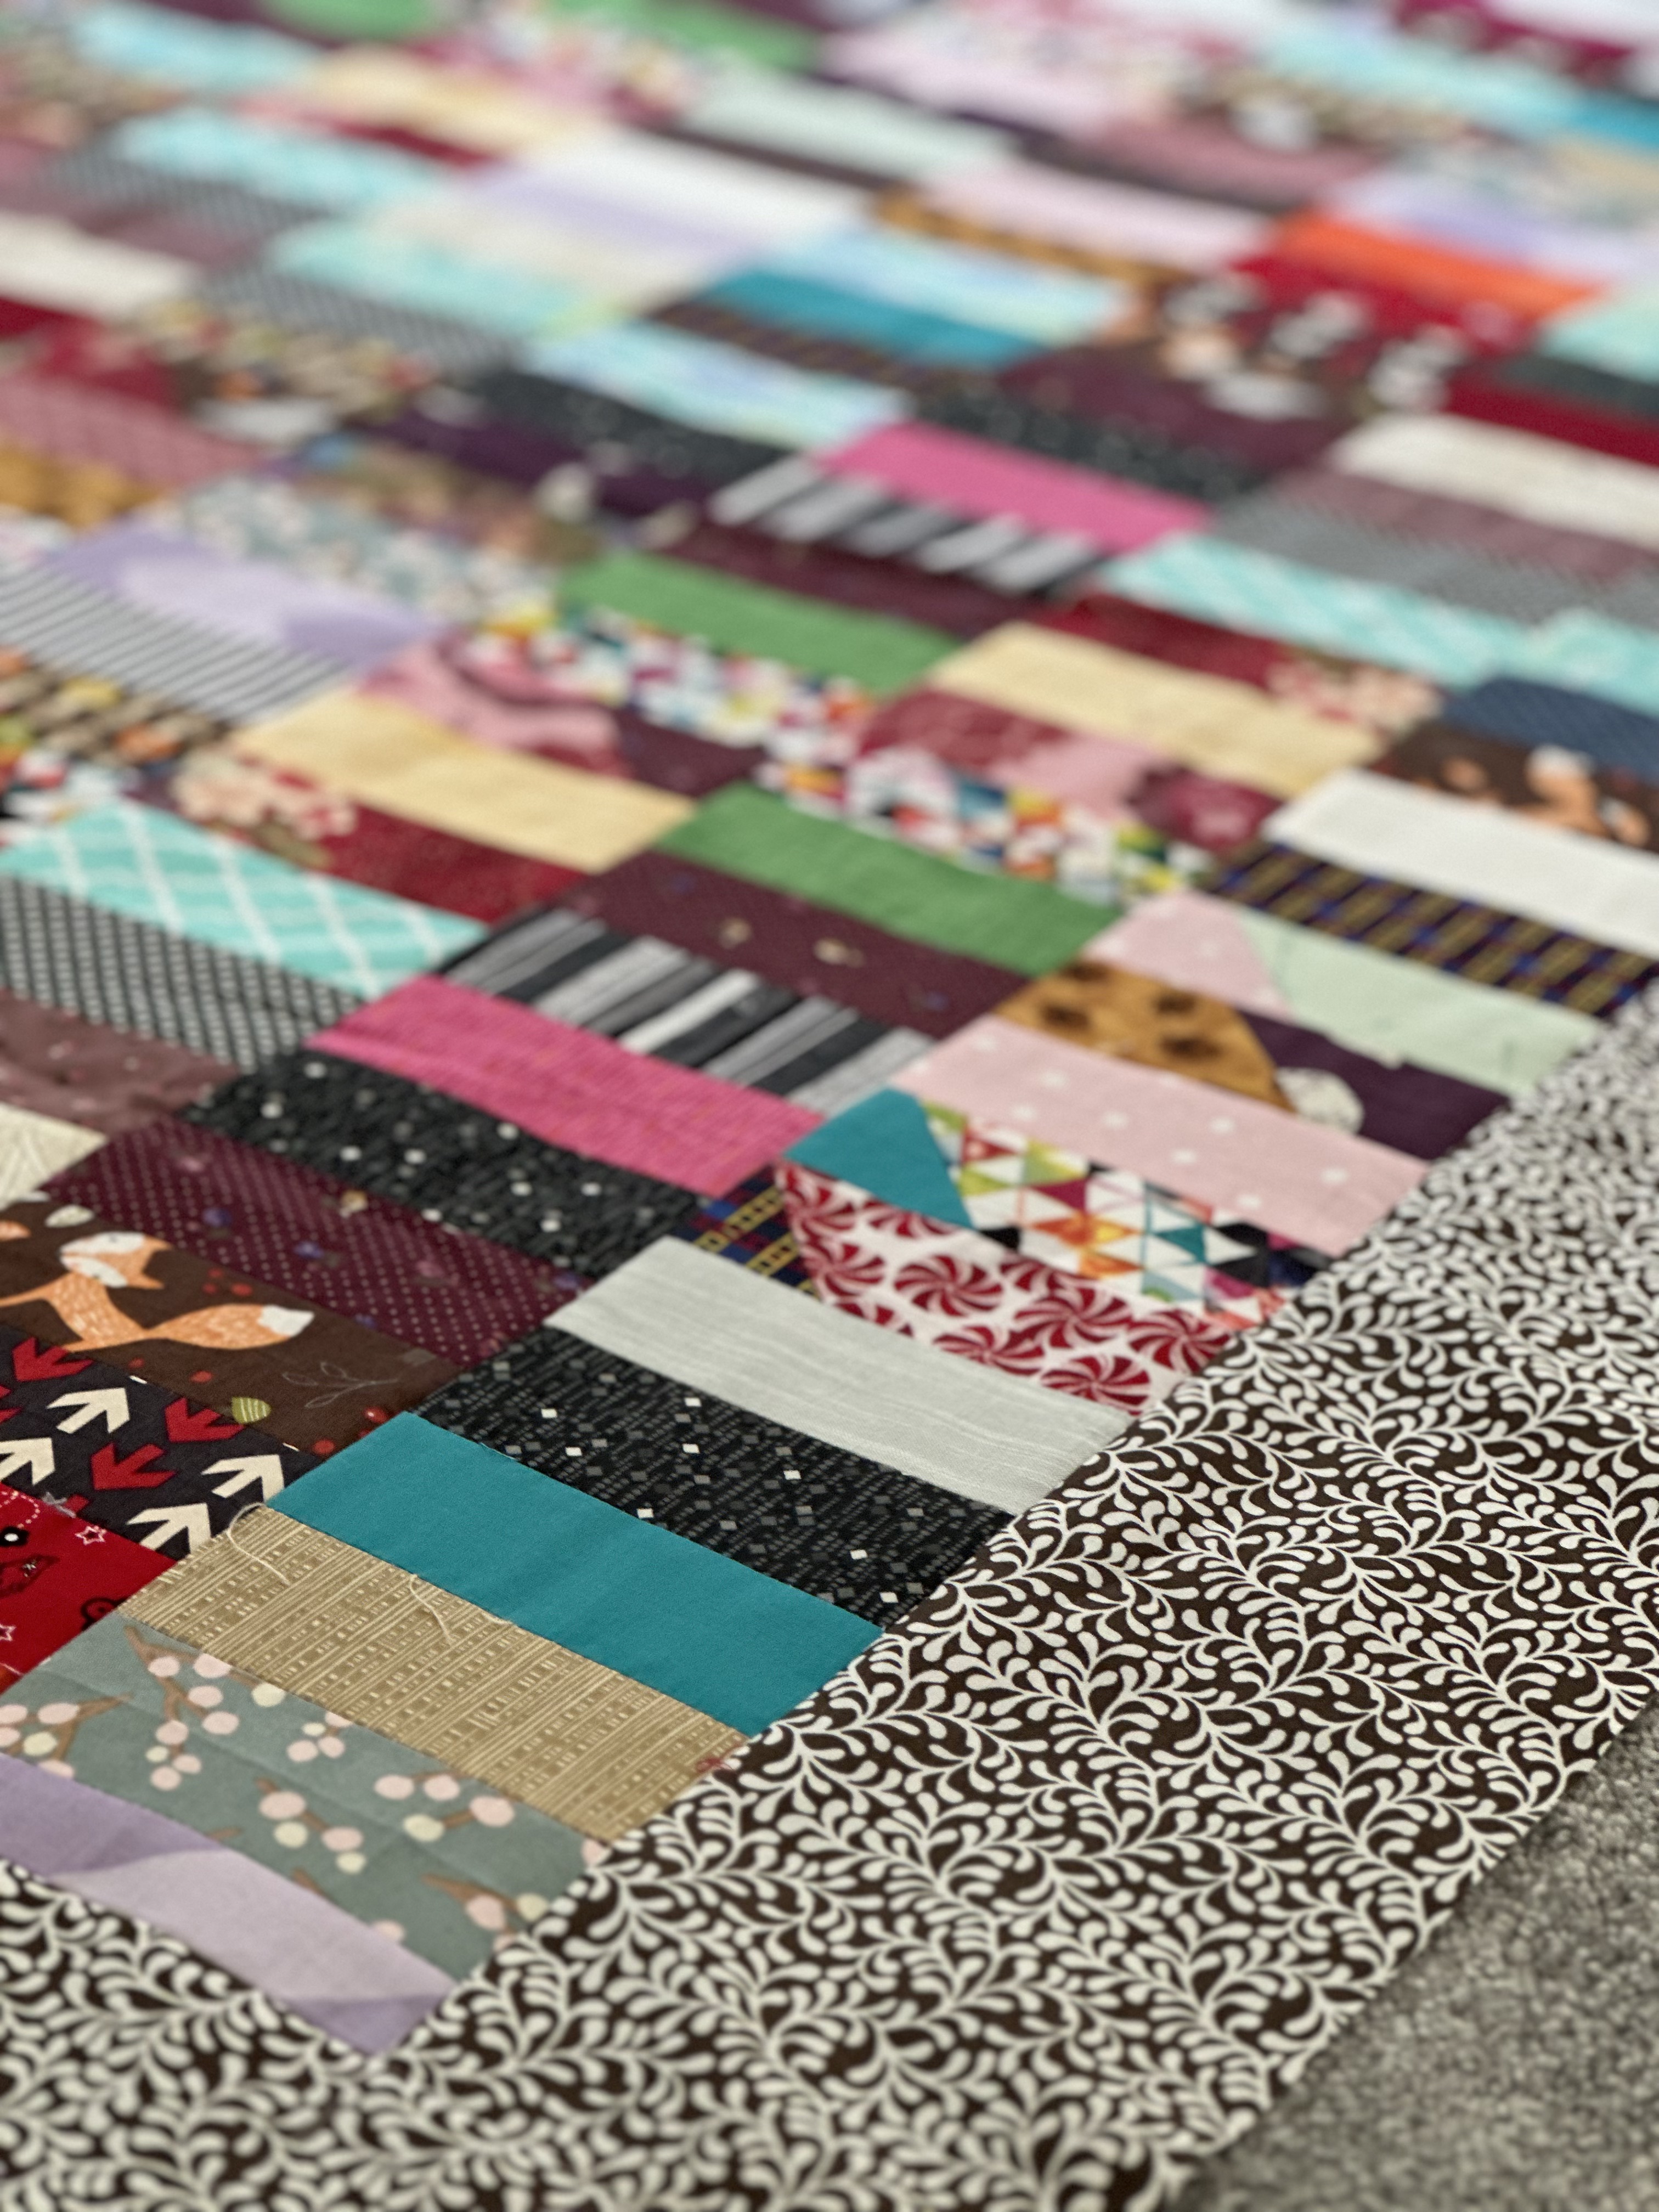
Here's a close-up shot - I took it on an angle and it looks really different here!


I found a beautiful green Modernist print by Joel Dewberry in our stash at church and added those borders today - now it's all ready for quilting!  Maybe I can get to it sometime this weekend....


Also, just for inspiration, aren't these stars just fabulous?  I saw this on Pinterest and tucked it away in my folder for this post.  I think I have the design for my next scrappy quilt!


I hope you have a wonderful Thanksgiving weekend (if you are here in the States) and find some time to do some scrappy sewing of your own!!

Hugs!

Sarah

Wednesday, October 12, 2022

I May Have a Scrap Problem - But I've Also Got Hexies!


Hi, all!

I am over the moon happy to be able to say that I have sewn the final hexie onto my hexie top!!!


If my math is right, there are 1428 hexies in this top, each one hand basted and then sewn together by hand.  This made a relatively good dent in my 2.5" square scrap bin, although I've probably got at least this many left!  


Today I went up and dug through my stash, hoping that I would have some of my grandmother's vintage Irish linen left in a color that would work as a border, and lo and behold, I found this beauty!  There's plenty to make borders to appliqué the top onto.  That will increase it's size just enough to make it the perfect size, AND will wash up lovely and soft!


And look what else I found!  This is a huge piece of linen that used be part of a duvet cover that I found on sale at Pottery Barn.  I used part of it as a back for a quilt several years ago, but it looks like there's enough to back this quilt too!  I can't wait to see (feel?) how soft and cuddly this quilt will be once it's finished....

So that's what I've been working on in the scrap arena this week.  How about you?  Is it time to bring one of those "squirrel" ideas floating around in your brain out into the light? There's no better day than today!

Hugs!

Sarah

Wednesday, October 5, 2022

I May Have A Scrap Problem... But I'm Working On It!


 Hi, all!

Well, I've been absent from the blog, but I haven't been skipping out on my scrappy sewing - I decided that I could definitely do some hand sewing, so I ordered some hexie templates and dragged out my 2.5" square bins.  Many months later, this is what I have...


I haven't actually measured it yet, but it's a good lap size, plenty big enough to snuggle up on the couch with. I've just got to fill in that top right corner and it will be ready for a border and quilting!  Every stitch in it has been done by hand (although I will be finishing it up with the machine) and I am very proud of myself for sticking with it!

I also started a quilt using lots of leftover binding strips earlier this year and have finally finished that top, adding the borders just this afternoon.


This quilt will be finished by someone else in the quilt ministry (I'm not feeling quite able to belly up to the belly bar on my long arm yet) and hopefully will bring a lot of joy to someone in need.


And what's next on my horizon?  Well, while surfing Instagram I found these cute pin cushions that I want to try - it's a good thing I have lots of scraps already cut up into squares!


And I'm thinking that this quilt design, or something similar, would make an excellent ministry quilt!  We are working on making thank-you quilts for our local teachers (in addition to our regular ministry quilts) and this looks quick and easy but so cute!  We were very lucky to have a Studio cutter donated to us, so it's easy for us to cut lots of 2.5" strips now.  I need to get on EQ8 and graph out the quilt and write instructions for our newbie members, but that shouldn't be too hard.


So that's what I'm doing to keep the scraps in control these days.  Of course, I now have a little bit of extra "help" in the studio...


Bree is definitely a fabric lover's dog - she is constantly stealing my scraps, and today she even took fabric off my fabric shelves!  I'm going to have to work out some way to cover the storage units so the temptation isn't staring her in the face, because like me, she has little self control when faced with beautiful fabric.....

So how's your scrap situation?  Are you drowning, or swimming merrily along? 

Hugs!

Sarah

Friday, September 23, 2022

Can I Get a Whoop Whoop? I'm Back!!


Hi, all!

It's Friday, and we all know what that means - it's time for us to get our whoop whoop on!!  After a much longer than anticipated hiatus, I am back - and I am whooping about it!  I've also got a few things I've been working on during the hiatus to share.  I hope you've got something wonderful to whoop about this week, too, so let's get started!!

*&*&*&*&*&*&*

First of all, thanks to all of you who have checked in on me over the past months, or who have sent good thoughts and prayers my way.  It's all been much appreciated, even if it was unacknowledged at the time. Life seems to be returning to normal, for which I am VERY grateful!!

Here's a project I started way back in January that is finally coming close to being completed...


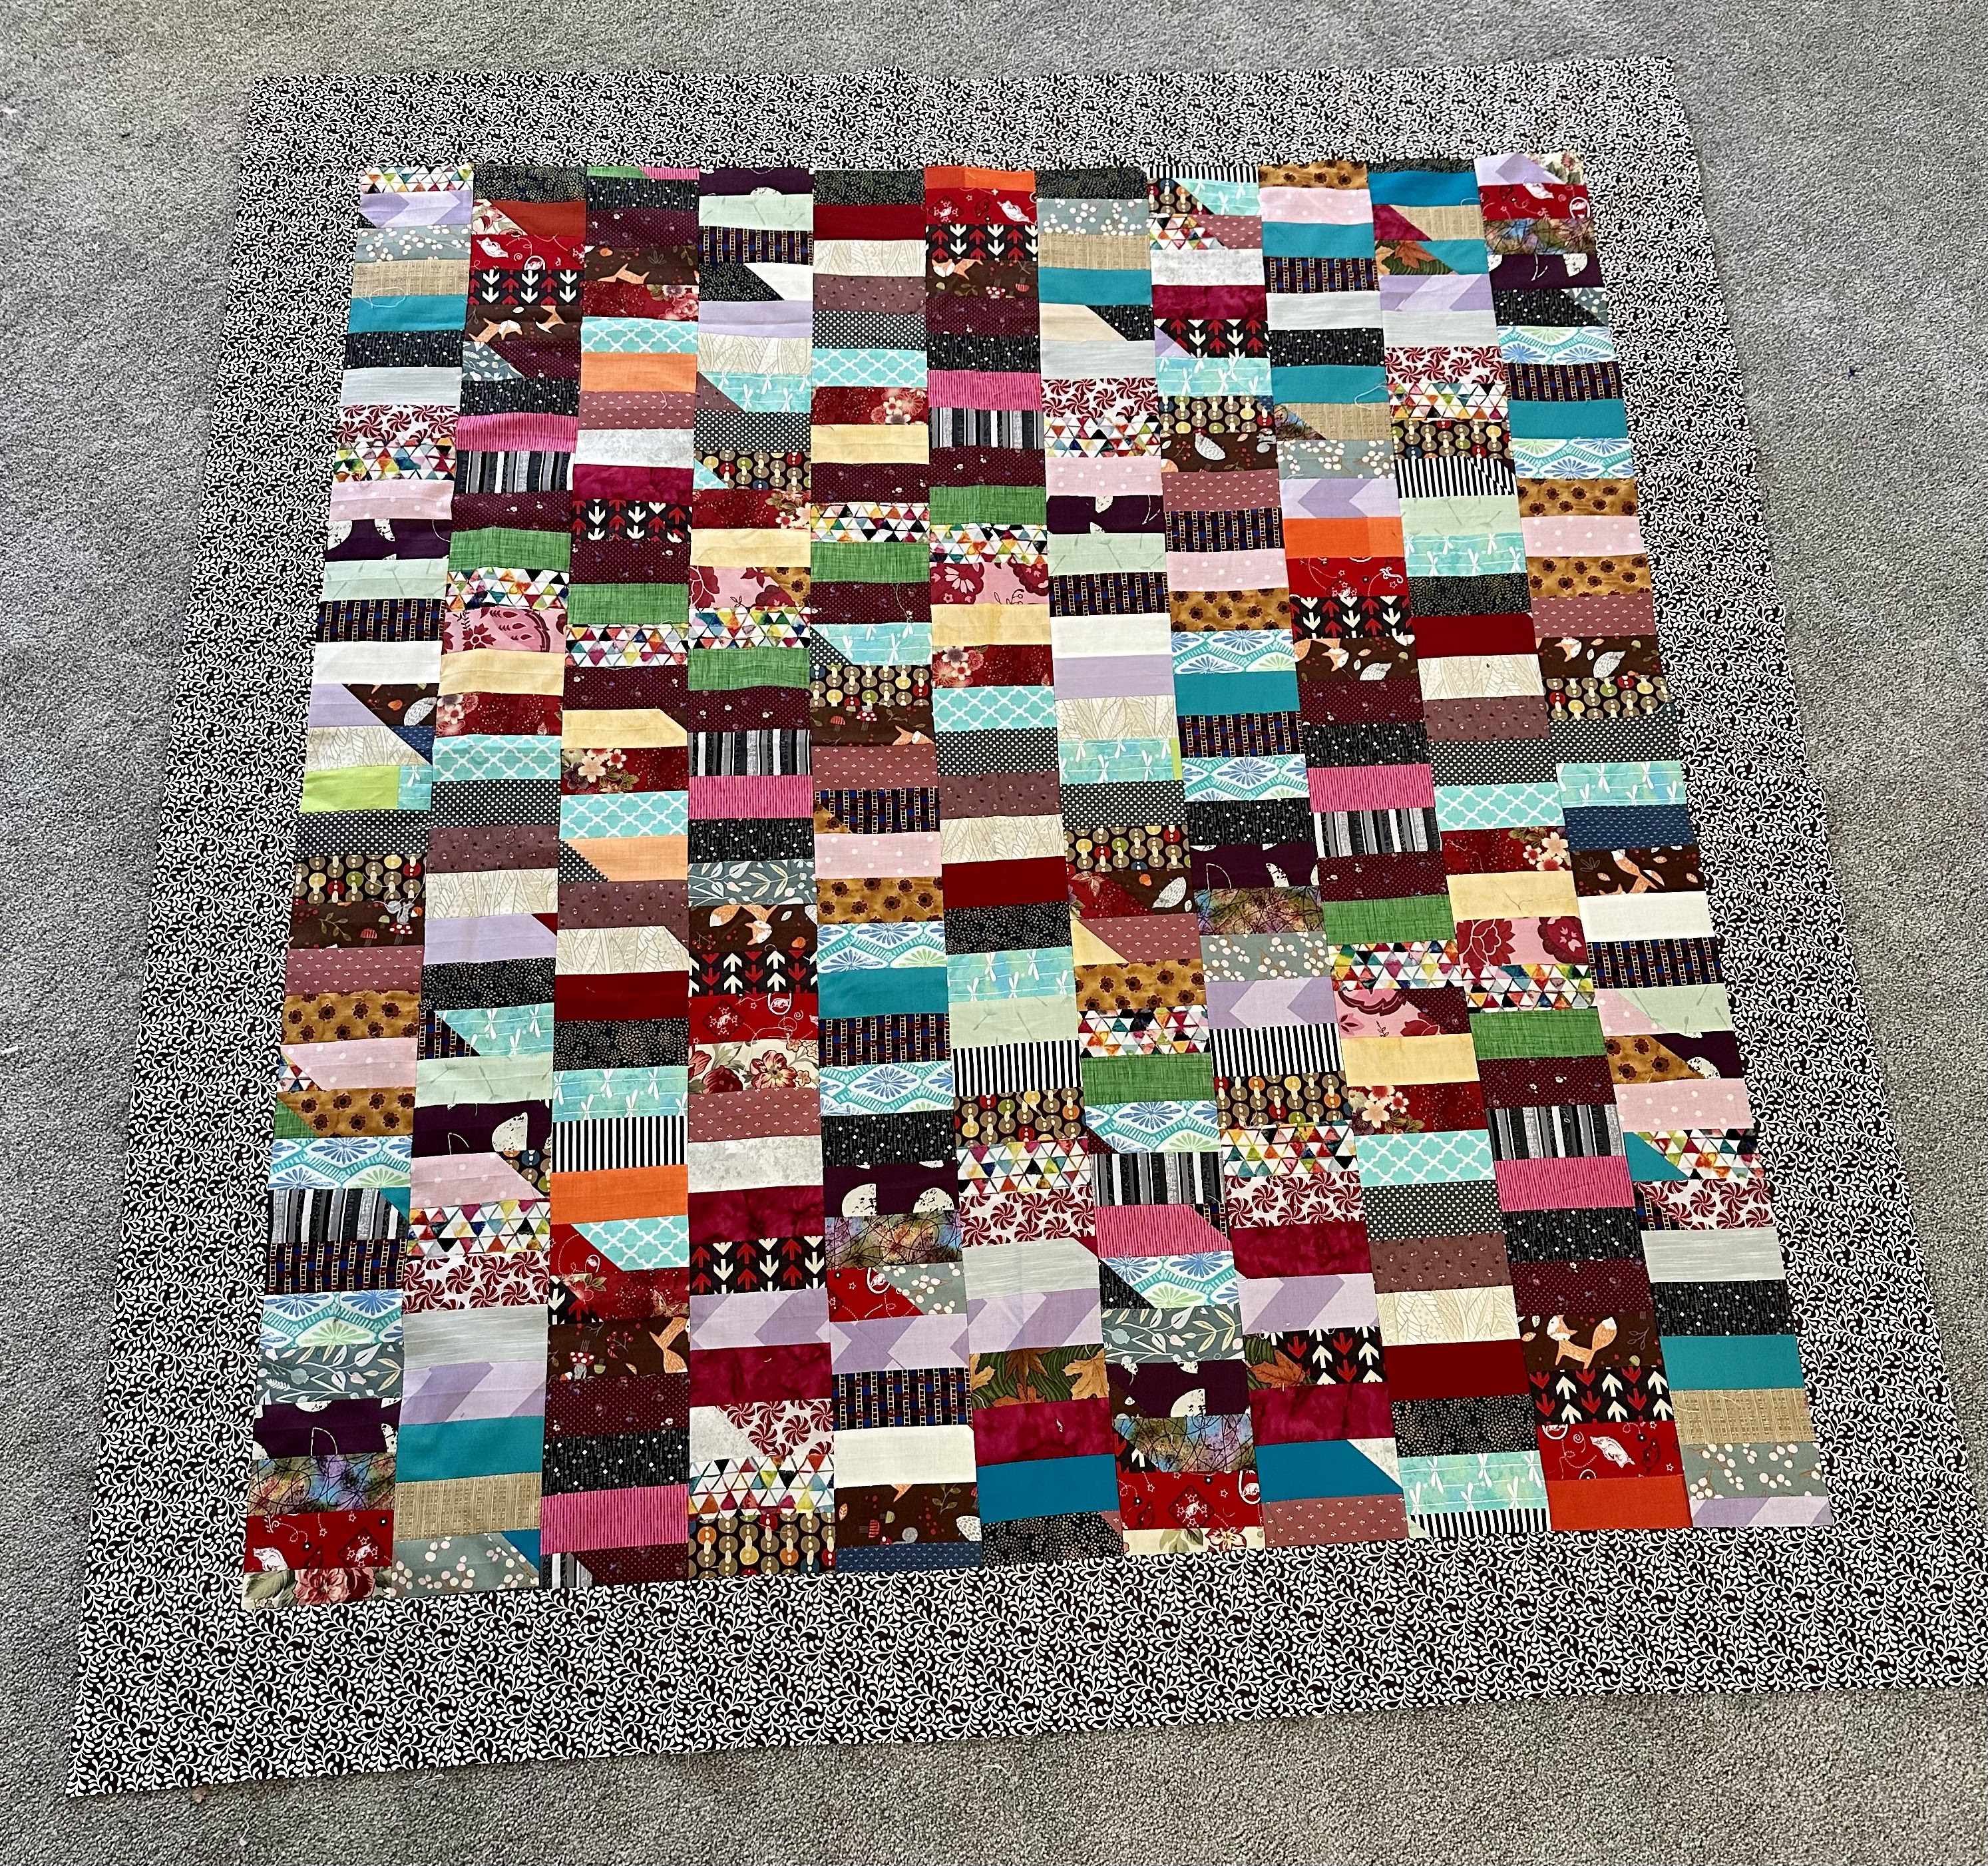
This top started out as a bunch of leftover binding strips!  I sewed them together jelly roll race style, then cut the resulting top into long strips made up of short pieces.  Then I re-sewed those strips together to end up with what is shown above.


Isn't that pretty?  It's still not quite large enough, so I went to church this week and dug through the stash for a good border...


... and I think this will do!  Hopefully I will get this border on this week and then this quilt will be ready for quilting and gifting to someone in need!

I also worked on a hand project over the past few months.  


Made completely by hand, from 2.5" squares cut from my scrap stash, I despaired of this ever reaching quilt size.  But as I kept working on it, I realized I was having fun (and getting pretty good at it!) and now it looks like this!


I'm still working on filling in the top angle (that was an "oops" because what I thought would fill in and make a straight, 90 degree corner actually made a way out of whack angle) and I will then finish off the two bottom corners to give me a nice rectangular quilt.  We will be driving on vacation this next week, so I'll have lots of car time to work on that stitching - maybe (just maybe) it will be finished in a couple of weeks!

And last but certainly not least, let me show you a picture of my constant companion of the past few months.  Bree has grown up from a tiny puppy to a lovely, not quite mature one year old. She realizes that I feel better now, and so she has reverted to some of her puppy ways.  One of those "ways" is stealing fabric scraps in my studio!


I guess it's appropriate for a fabric addict's dog to also be addicted to fabric!  So I share with her and hope she doesn't steal anything too precious...

So - - - can I get a whoop whoop?

*&*&*&*&*&*&*

And now it's your turn!

What's making you whoop it up this week?


What's making you do a little happy dance?

Share!  We want to dance right along with you,

And it's always more fun to dance with friends!

The party will stay open until Sunday midnight.

Hope to see you there!

Hugs!

Sarah


Friday, June 11, 2021

Can I Get A Whoop Whoop? Summer Sunshine!


Hi, all!

Hooray, it's Friday!  And we all know what that means - it's time for us to get our whoop whoop on!  Are you ready?  Let's go!

*&*&*&*&*&*&*

A couple of weeks ago, I finished a quilt!  But because other things were going on (H2H, maybe?) I didn't have a chance to really share it with you.  But tonight as I sit under this lovely summer weight quilt I decided it was time to show it off!


I made this as part of an Instagram quilt-along held by These Clever Hands (@thesecleverhands) using her pattern Me Sew Happy.


This beautiful quilt used so many of my favorite bright scraps!  And truly scraps - I dug through the pieces I had already cut that were the right size, then hit the scrap bins for the other pieces I needed.  


I found pieces in my scrap bin that I didn't remember I had - like a square from the backing of the very first ministry quilt we made, pieces from clothing and quilts I've made for my grandkids, bits and bobs from other quilts that I remembered as I put this one together.  It was quite a walk down memory lane!


When I got ready to quilt it - on the spur of the moment - I wondered if I had anything appropriate to back it in my stash.  I went to look and found the perfect fabric - but is there enough?  YES!  There was just the right amount for the back of the quilt.  Hooray!


Then after quilting I looked at it and thought, "Wow, a striped rainbow binding would be perfect for this quilt!"  Went to check in the stash, and amazingly I found just the right binding fabric - and just the right amount of it for this quilt!  I must have been living right!


And one last shot, just because it's an awfully pretty quilt!  Oh, one more thing - I tried a silk blend batt for this quilt and I really like it!  It felt like a cotton batt while I was quilting it, but after washing, it has a beautiful soft drape and it's very light.  I definitely would use it again in summer weight quilts.

And in other news....


...this represents two good days of work by my granddaughter Lilli and me!  Five bags full of H2H thank you gifts are ready to go to the post office!  I guess I know where I'll be spending some quality time now...

So - - - can I get a whoop whoop?

*&*&*&*&*&*&*

And now it's your turn!

What's got you whooping it up this week?


What's making you do a little happy dance?

Share!  We want to dance right along with you,

And it's always more fun to dance with friends!

The party will stay open until Sunday midnight.

Hope to see you there!

Hugs!

Sarah


Sunday, February 7, 2021

This Week's String Therapy? How To Be "Mindless"

Hi, all!

Well, it looks like it's time for another therapy session - if your week has been anything like mine, it's long overdue!  Nothing bad here, just super busy.  And as part of our String Therapy today, I've got a lovely, mindless quilt that will eat up your strings with little concentration on your part - just the ticket!!


Just look at all that mindless scrappy sewing goodness!  And you can make one all for yourself - just go grab that box/tub/pile/mountain of strings and go for it!


Some of you may recognize this quilt as a re-run from the Rockin' Rectangles tutorial series, and you'd be right!  But you just can't keep a good quilt down, and being able to re-run the tutorial makes my life easier this week.  So here's how I did it (with 2019 pictures) and there'll be more pictures of this year's version at the end.

First thing - grab up the strings you want to use and give them a press. Flat strings are much easier to cut up than ones that have been wadded up in a bin forever!  It doesn't matter if they are nice and straight or if they are different lengths at the top and bottom - it will all work out in the end. And don't overthink which strings to use - the very best scrappy quilts have LOTS of different fabrics!  But if you must have structure, you could limit your scraps to one color family, or warm or cool colors.  Keep in mind that the more different fabrics you have, the less you'll be concerned about keeping the same fabrics from being side-by-side in your quilt.


I laid out strips in stacks of 4-5, then took my 8.5" ruler, laid it on top and cut out sets of strips.  I highly recommend this method - you don't have to think about measuring, because your ruler is just the right length.  It's a great way to do it if you are working/talking with friends at the same time!


And this is the result - a tub full of pieces I can now use to create this quilt, which I'm calling "Mindless"!


Quilt Size:  Mine is 58" x 64", but yours can be any size you choose, limited only by how many strings you have and how long you want to sew!

Fabric Requirements:

String scraps cut into 8.5" lengths (strings are strips of fabric, usually at least 12" long and at least 1.5" wide.  They do not have to be even widths or all the same width for this quilt. Many of mine are the strips trimmed off of quilt backs after quilting.)  A good variety of fabrics is recommended, but it doesn't take as much fabric as you will think it does.  You'll see this proven later in the tutorial!

Assembly Instructions:


Choose 4-5 of your string strips and sew them together along the long edges.  Press the seams all in one direction.  As you can see from the picture above, it doesn't matter if the strings are the same width on each end, because we're going to trim this panel in the next step.


Now lay your panel on your cutting board, choosing what the straight will be.  I chose to use the seam between the bottom two pieces as my "straight". Trim the right edge straight...


...then switch over and trim the left side.  I was able to trim mine to exactly 8" wide, which made it easy to figure out how large my quilt would be.  You will trim all your panels to the same width.  Now turn your panel so it runs horizontally and line up the top edge with a straight edge on your cutting mat.


Once again, trim the right and left sides of your panel...


...and you'll be left with a panel with nice, straight edges!  The trimmed length of your panel doesn't matter, because you'll be joining them all together in long strips.  Only the width must be consistent.


You'll need to make a bunch of these panels!  For instance, if your panels were all about 10" long, and you wanted a 60" square quilt, you would need about 48 panels.  Trim them all to the same width. You may want to start putting them up on a design wall as you go, so you can see if you are heavy on one color or fabric.  


It's also really encouraging to see that you are making progress with all that sewing!  When you are arranging your strips, you may find that some strips are wider than you would like - if that happens, just  split those wide strips and join them up with more string strips!  


Once you've laid out your strip panels and like the layout, start sewing the panels into columns.  They may not be exactly the same length, but that's not a problem - you can just trim them to the length you want, or add one or two more strings to the bottom to make them as long as their neighbors.  This is a very fluid and forgiving quilt to make!  You can also see that the pieces that are angular rather than straight add a little interest and motion to the quilt.  I almost wish I'd added more of those pieces!


Now comes the dreaded "quilt as desired" part!  With a quilt this busy, you might choose to do an organic straight or wavy line, either horizontally or vertically - either would look great!  I chose to quilt mine with a large random looping meander.  It's a quick way to quilt one on the long arm, and it gives wonderful texture to a quilt!


The first time my husband saw the finished quilt, he blinked and said, "Wow, it's bright! Looks like vacation...." He's right, it is bright, and it kind of does look like vacation!  So it's fitting that the backing is a piece I found at A&E Pharmacy in Pensacola (not a pharmacy any more, but a fabulous fabric shop!)  Those bright sunny flowers really called to me and just had to come home with me.  I'm so glad they've found a permanent home on this quilt!


Fly says she thinks sunshine on a cold day is the very best therapy, and that may be true.  But a little mindless sewing that ends with a beautiful scrappy quilt is almost as good, am I right?

See you next week for a little more String Therapy!

Hugs!

Sarah