The last Friday of the year has arrived, and we all know what that means - it's time for us to get our whoop whoop on! Are you ready? Let's go!
&*&*&*&*&*&*&
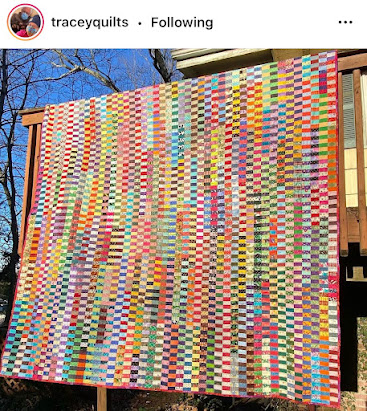
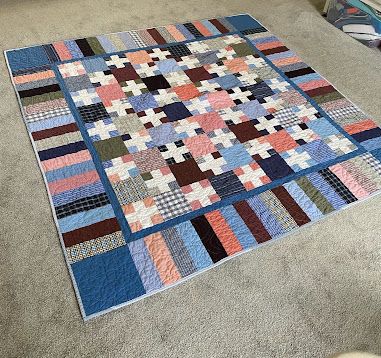
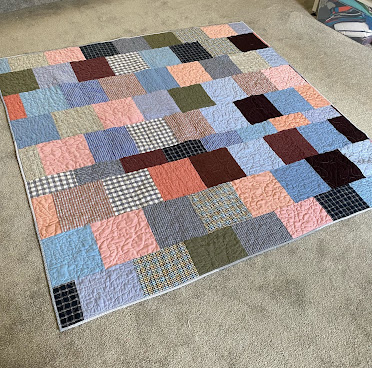
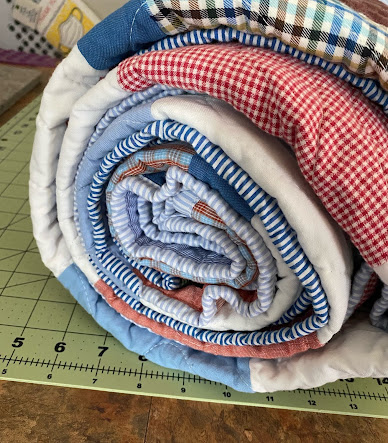
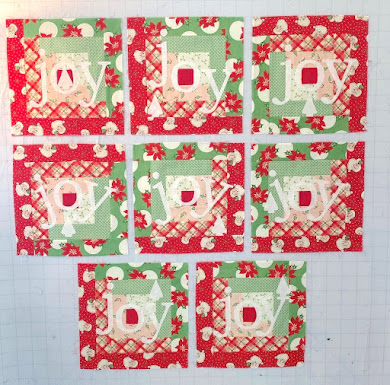
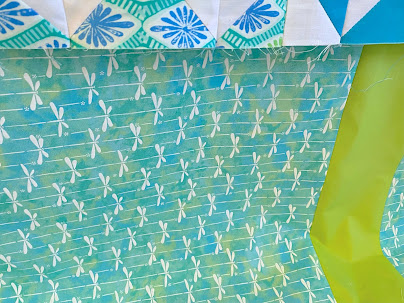
It's been a wild and crazy time here, but I couldn't let the year end without posting one last finish for the year! I'm happy to say that I have finally finished my Endless Summer quilt, started many years ago as a vacation project. It's languished in a project box since then but this fall, as part of the WIPS-B-Gone challenge, I dragged it out and started working on it again. And here's the finished product!
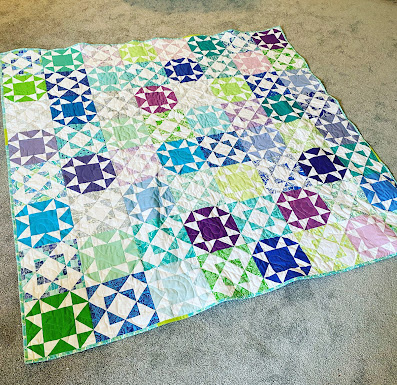
We had some sunshine today, but it didn't last long enough for me to get any good pictures outside...
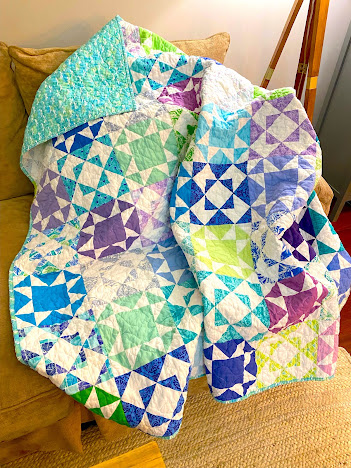
...but it's still beautiful, isn't it? These bright summery colors should bring a lot of cheer to January and the new year!
So - - - can I get a whoop whoop?
*&*&*&*&*&*&*
And now it's your turn!
What's got you whooping it up this week?

What's making you do a little happy dance?
Share! We want to dance right along with you,
And it's always more fun to dance with friends!
The party will stay open until Sunday midnight.
Hope to see you there!
Hugs!
Sarah