Monday, February 27, 2023

Make-A-List Monday - She's a Quilting Machine....


Hi, all!

Do you remember that song Dancing Machine by the Jackson 5?  Well, I felt like a quilting machine this week!  You'll see why in a minute, but first, let's see how last week's list went....

1.  Finish the tutorial for the fifth quilt.

Done!   If you're interested, you'll find the tutorial for this quilt on this past Sunday's blogpost...

2.  Finish the tutorial for the sixth quilt.

The quilt is finished, but the tutorial still needs some sprucing up. So this is still on my list!

3.  Quilt my great-niece's (long overdue) baby quilt!

Done, and not only finished, but delivered!  Take a look at my two cute great-nieces on that quilt...

4.  Quilt some ministry quilts.

We'll get to that in a minute....

5.  Make backs for the stack of tops I have piled up!

...and this one too!

6.  Pick up my studio - it's looking rough!

It's looking even rougher, but I have a good excuse!


(It's gotten even worse since this pic was taken!)


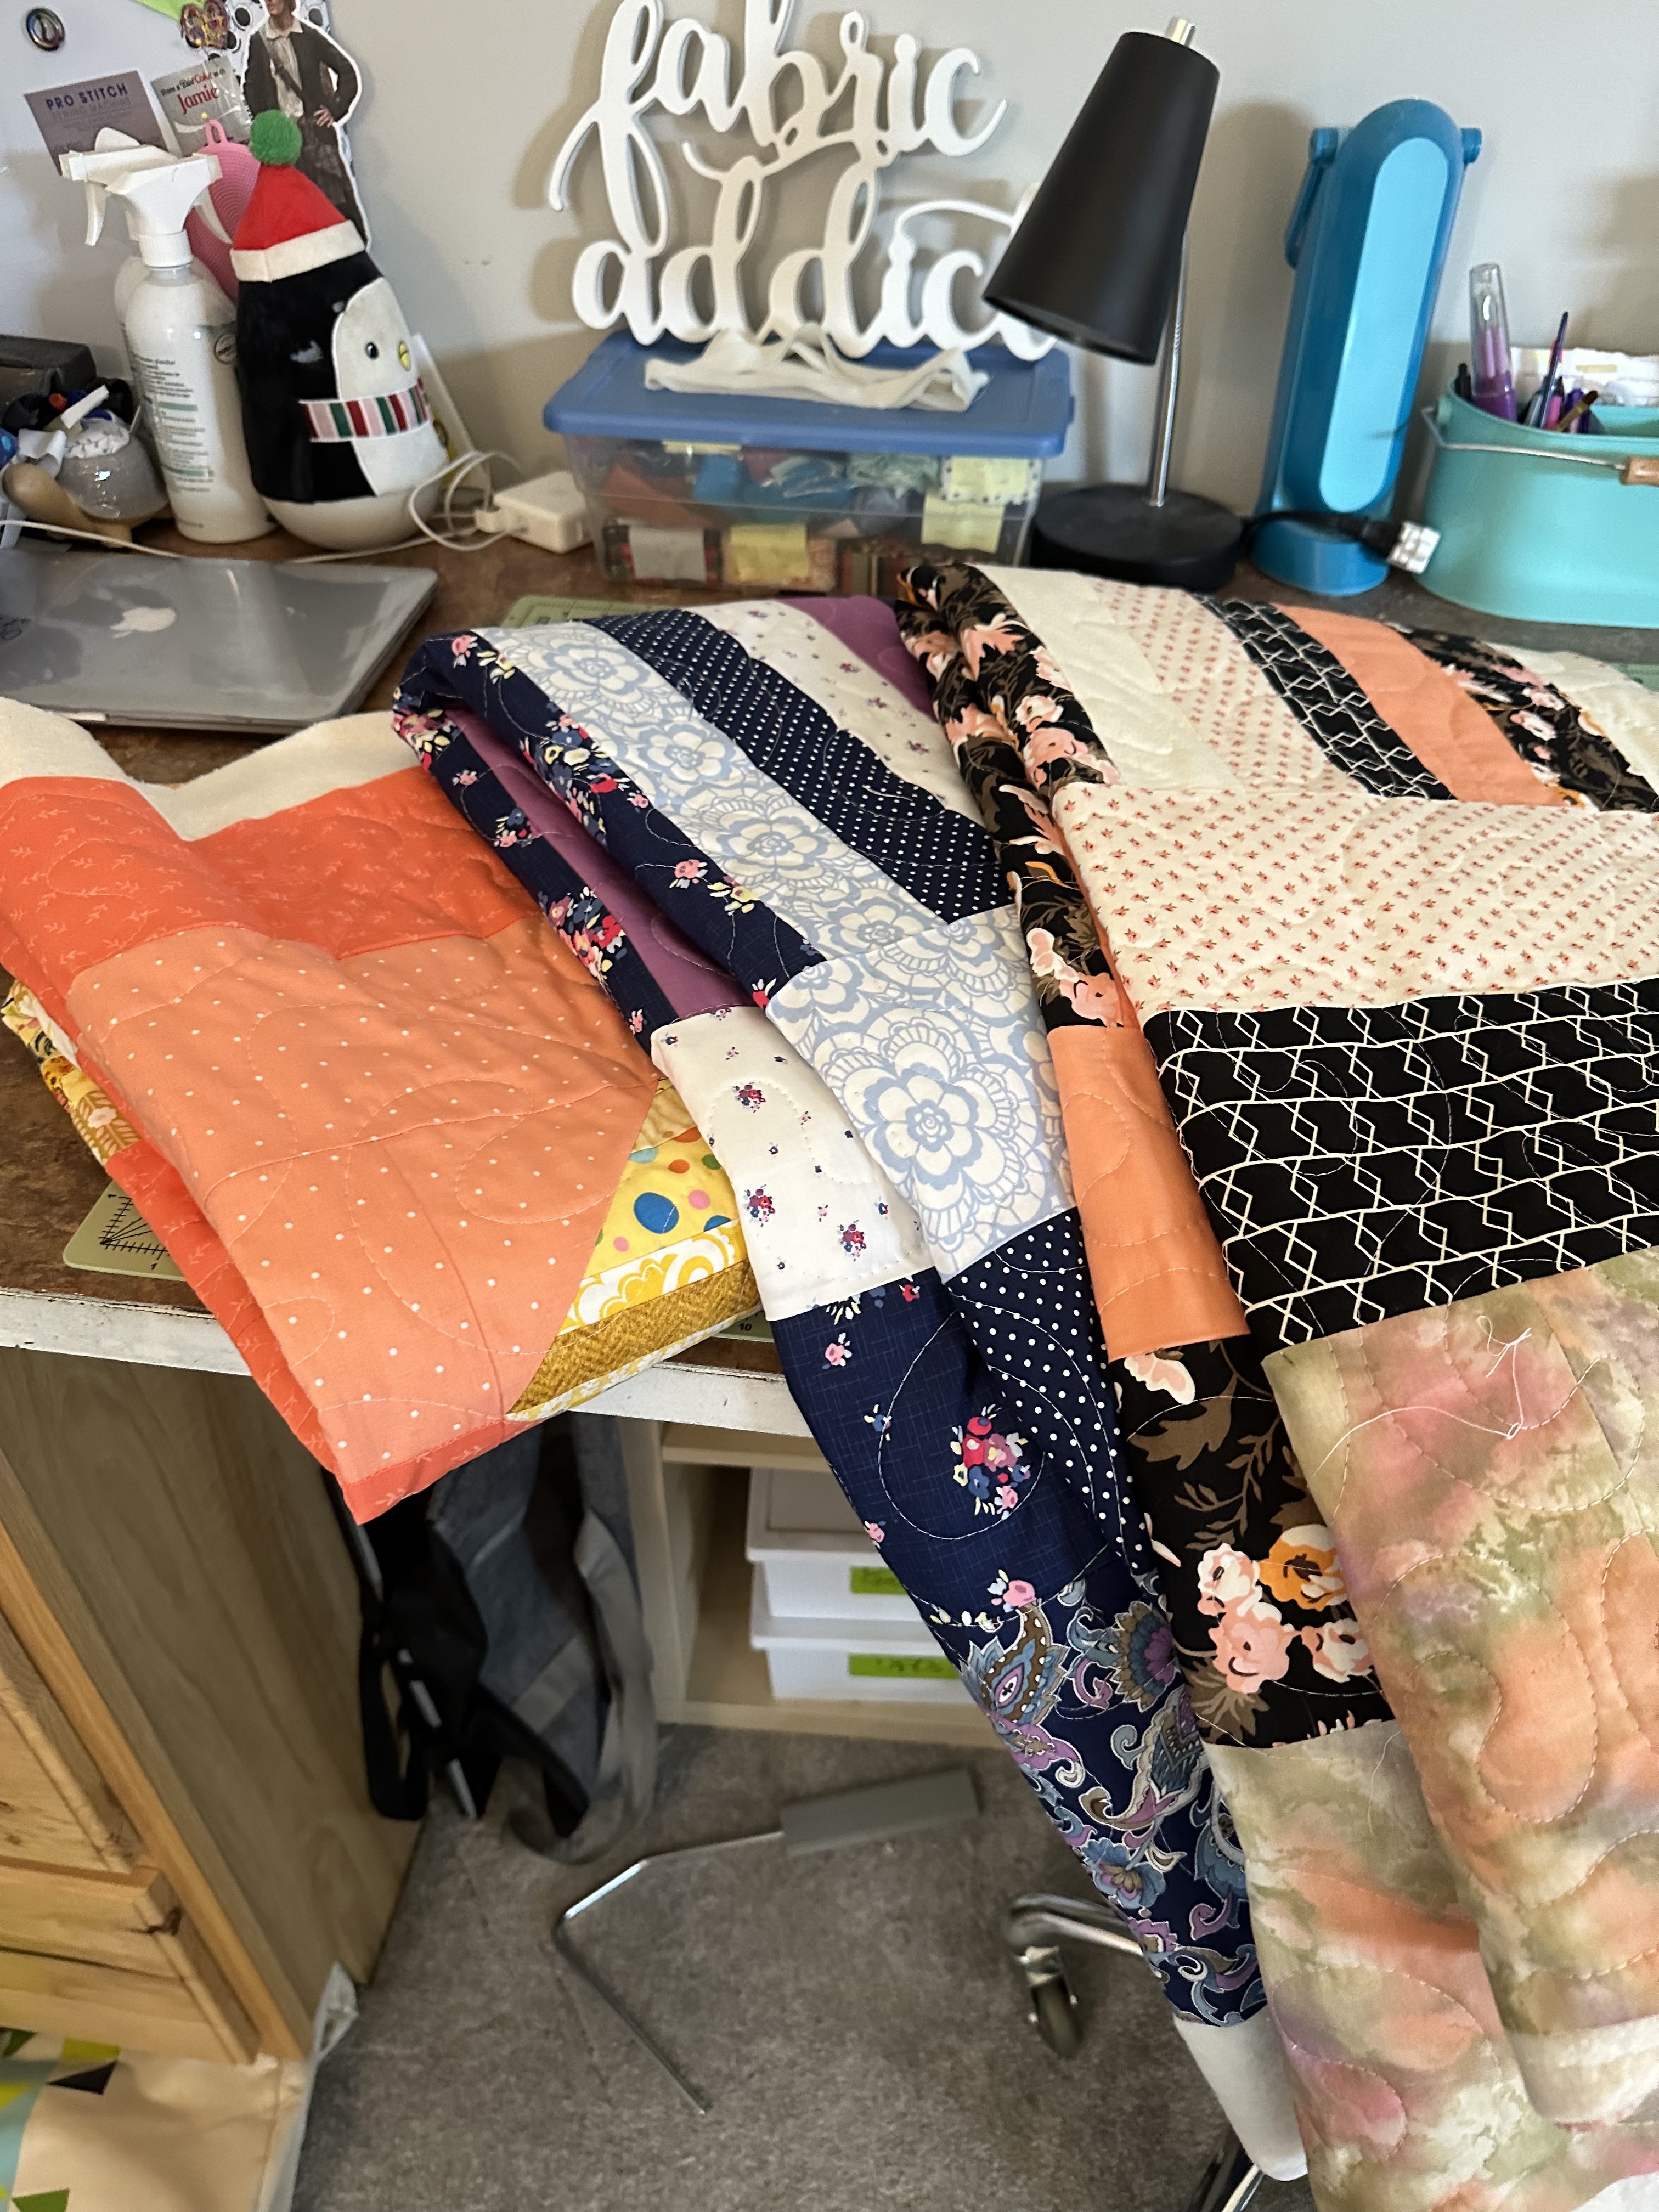
And what is that excuse?  Well, on Tuesday night we met at church and did a "head count" on how many quilts we had for the two big projects we are currently working on - quilts for our high school graduates and another big project that I can't divulge just yet.  All in all we need about 85 quilts by the beginning of summer.  On Wednesday I looked at the pile of quilt tops I had on hand and decided I needed a kick in the seat of the pants to get to work, so I challenged Piper, the amazing person who's been keeping the quilt ministry afloat this past year, to a friendly competition - let's see who can quilt the most tops by the following Tuesday.  And we both got to work!  

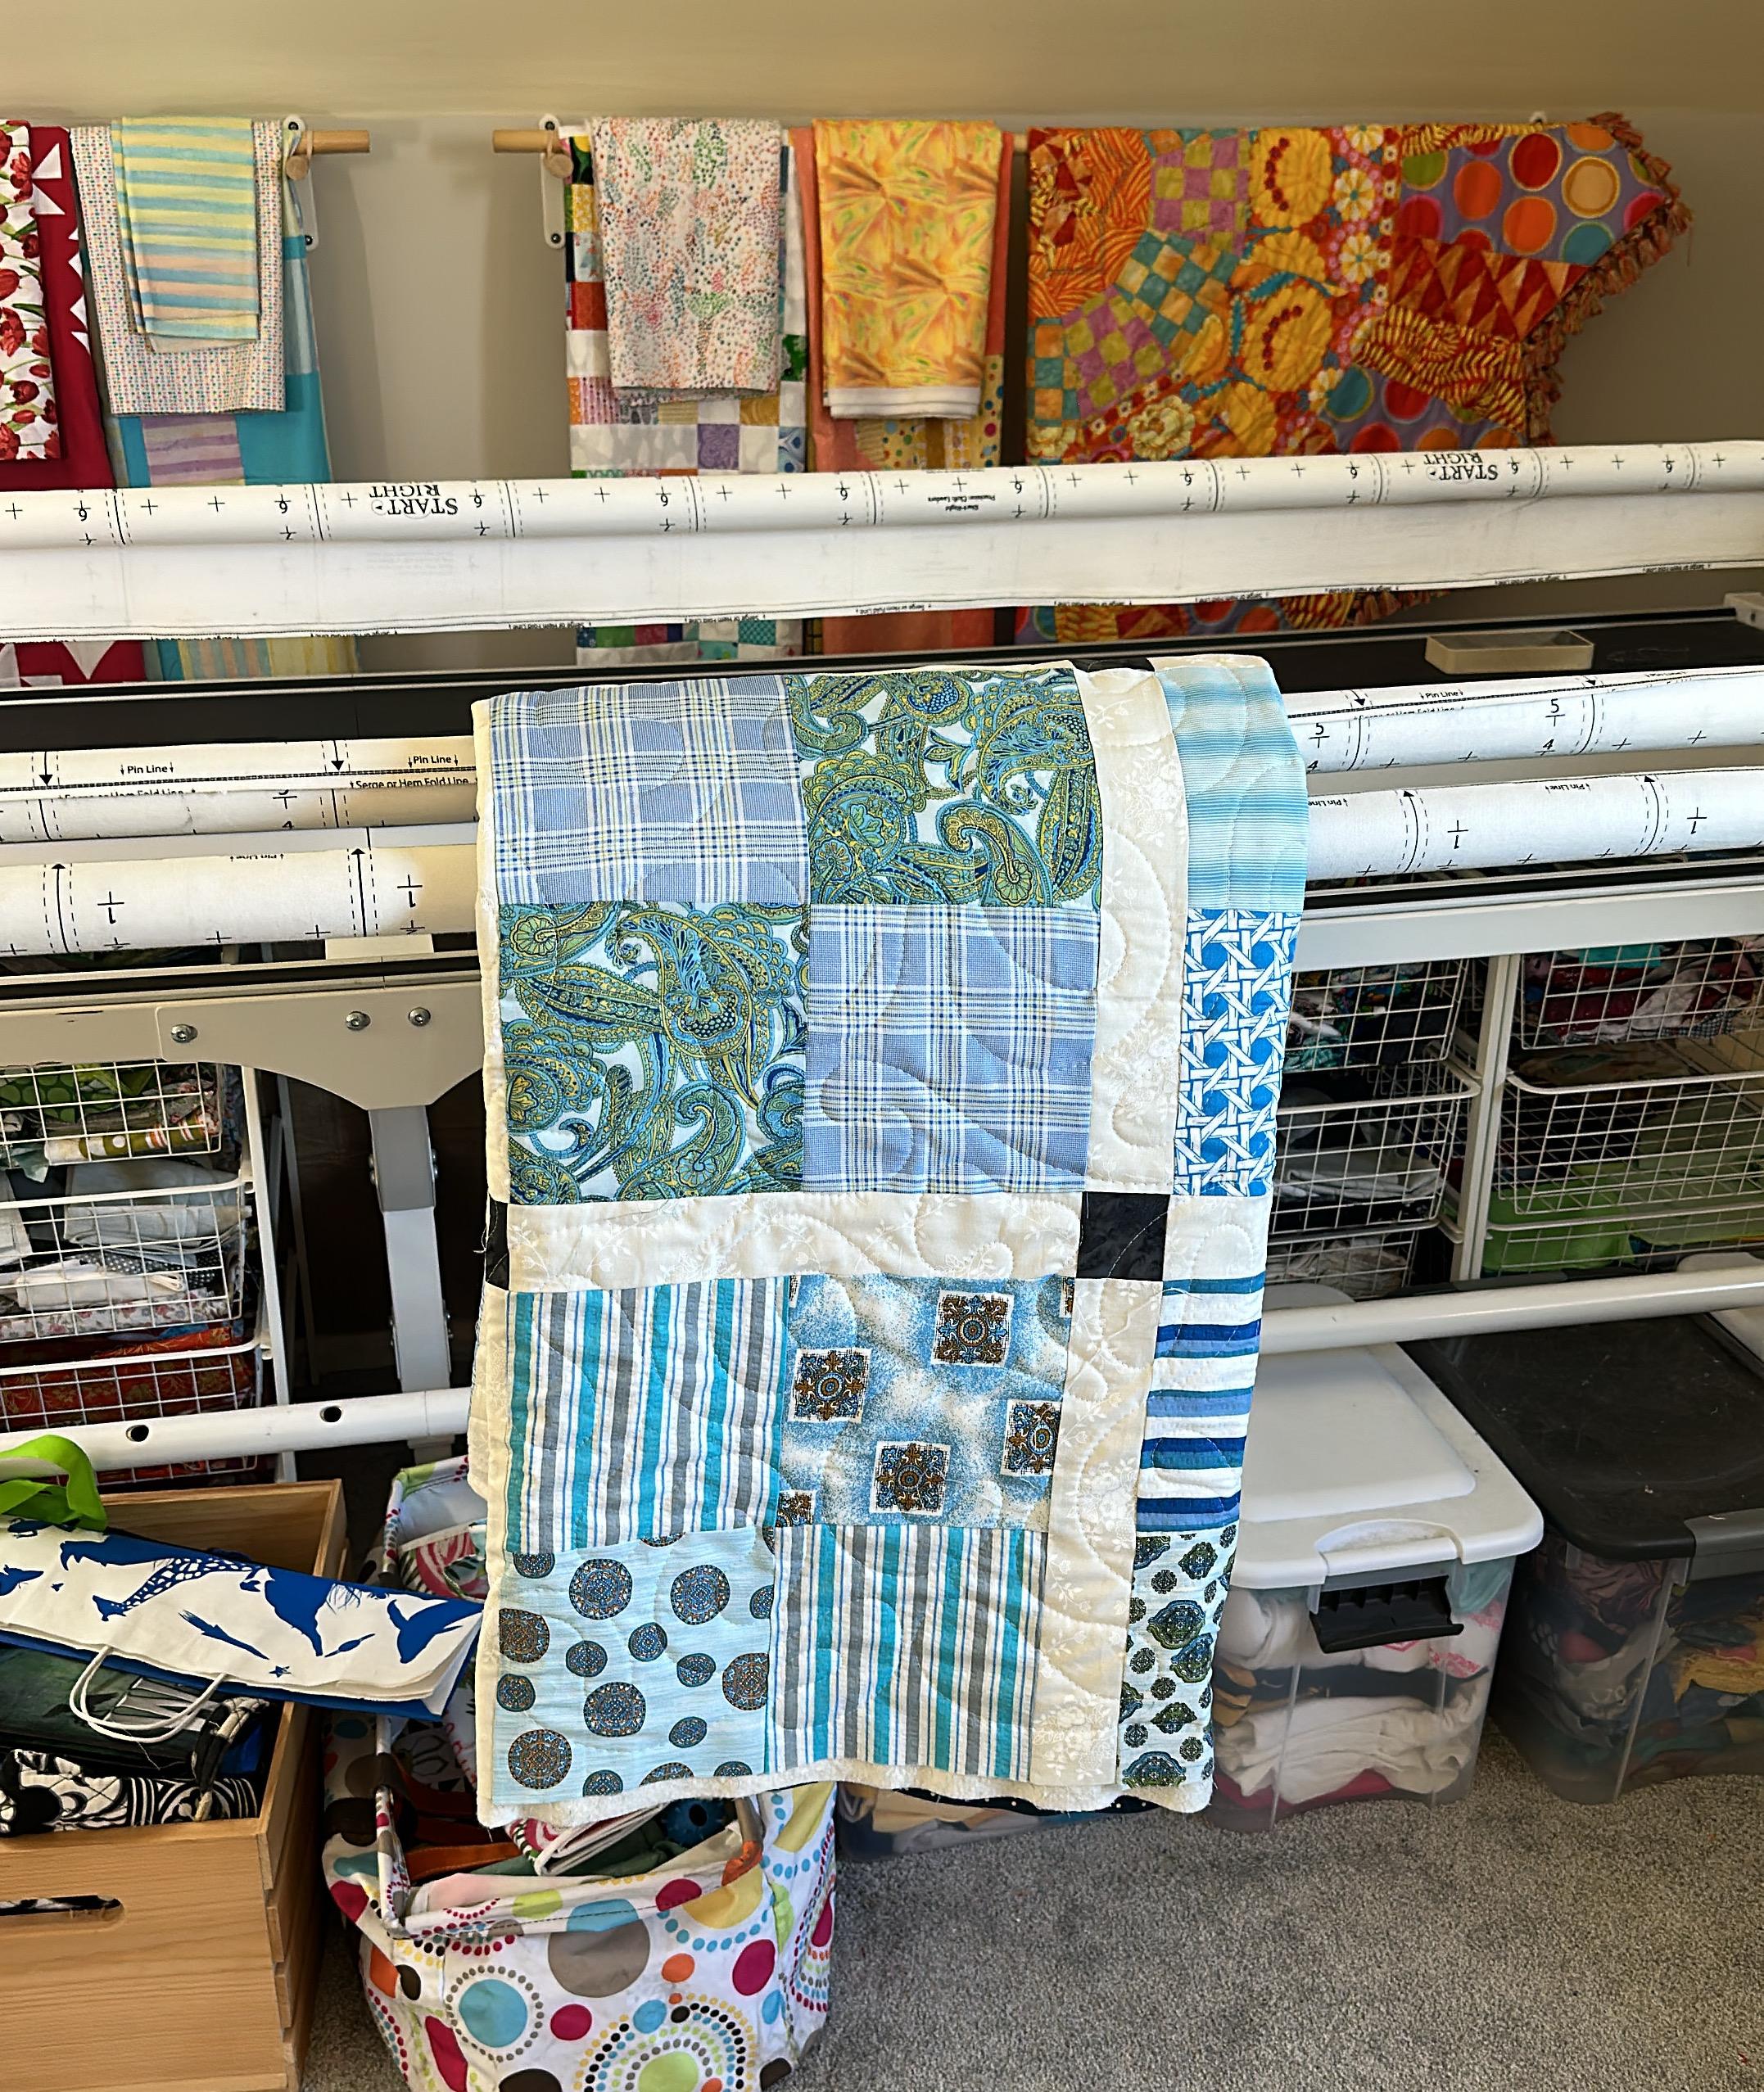
I gathered up all the quilt tops I had on hand that would work for either of the two projects and added them to the stack I had to quilt, bringing my stash on hand to a total of eleven.  Can I finish eleven quilt tops in a week?  Let's see!

By Saturday noon, I had a stack of eight quilts, trimmed and with binding all ready to go!  Sunday afternoon I pulled the last three quilt tops I had and got the backs ready, then loaded one on the frame so it would be ready for me first thing Monday morning.

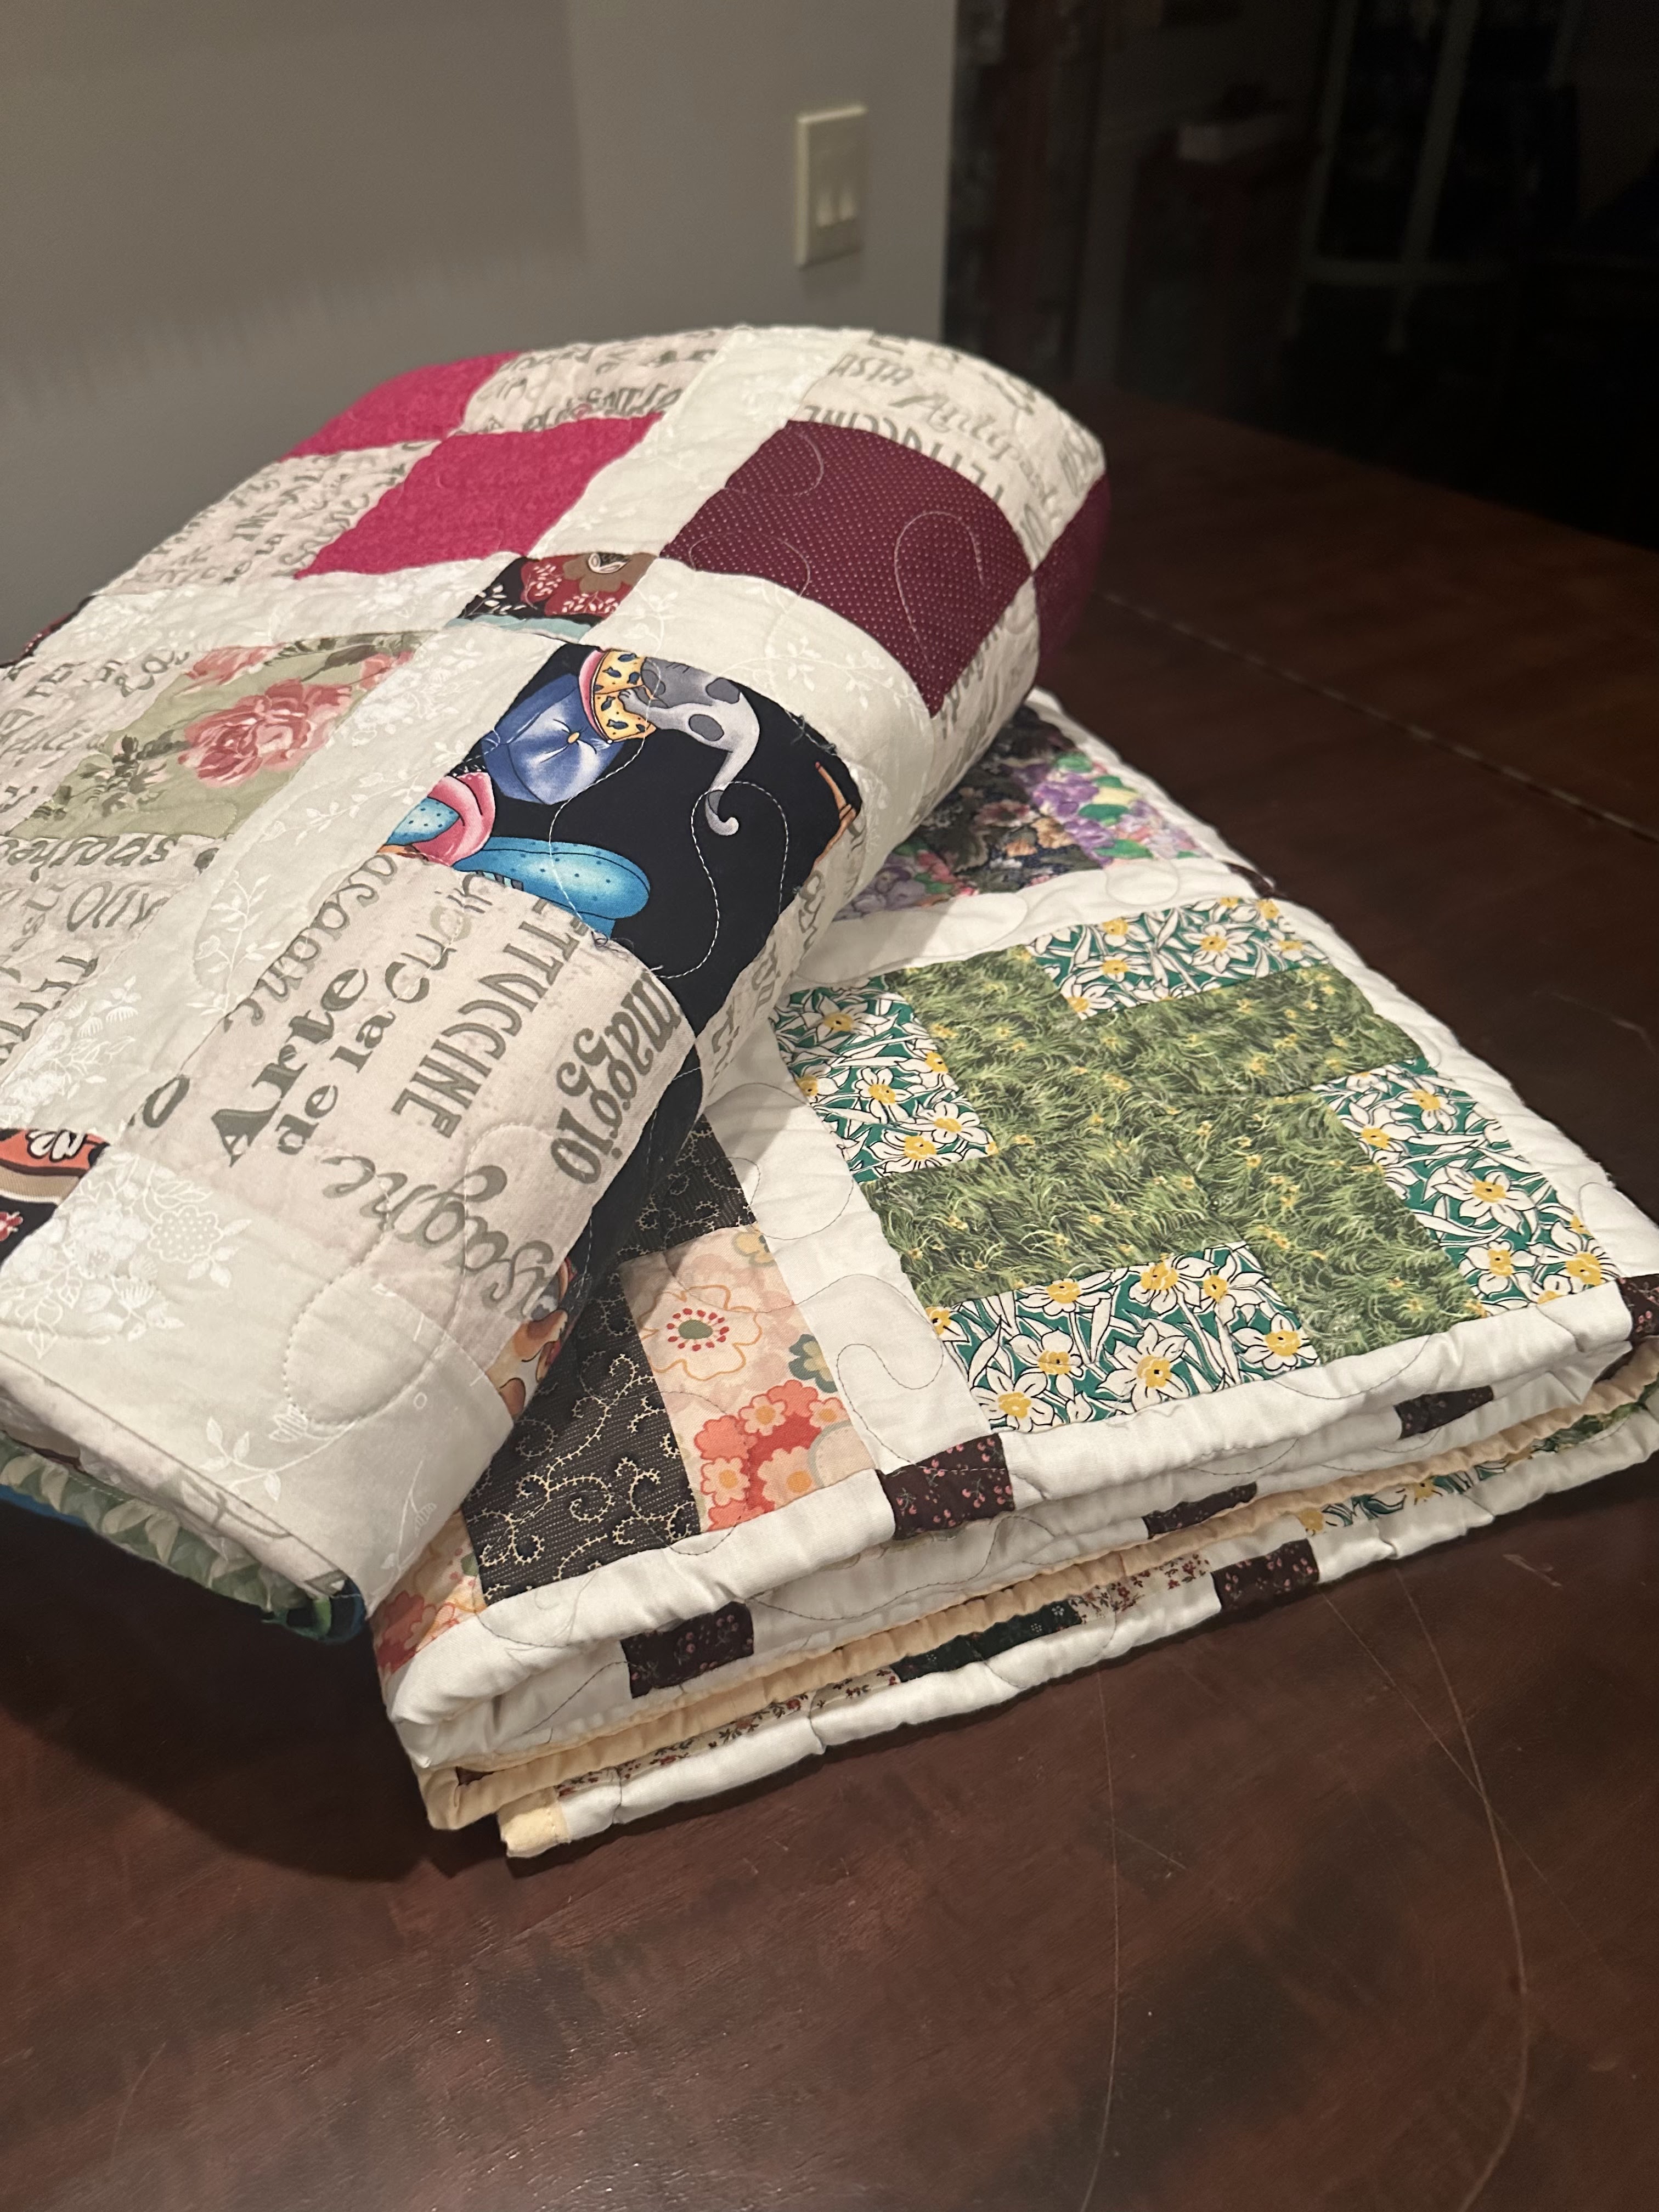
By 11 am Monday, I had quilted the last three tops!  A short break for lunch and to fold a load of laundry, and then I went back to the studio. These three quilts were trimmed and binding prepared, then I turned to binding!

And now we have five completely finished, washed and dried quilts to add to the stacks!  Hopefully I can finish a few of the remaining six quilts and get them washed and dried in time to take them to church tomorrow night.  Anything I don't finish will be passed on to one of our members who enjoys binding and I'll gather up another batch to be quilted!  

I can't wait to see how many quilts Piper brings in - I think we've made a huge dent in our needs!

I also switched the quilt on my bed from winter to spring - wishing for some pretty weather again, I guess!  It does make the room look really nice and fresh!

OK - so that's what I did last week.  Let's see what's on my plate for this week now...

1.  Deliver quilts to church.

2.  Pick up a new stack to work on this week.

3.  Finish the final tutorial.

4.  Help my SIL with the grandkids while my daughter is out of town.

5.  Quilt as many ministry quilts as possible.

6.  Clean off that table top in my studio!!!

That will definitely keep me out of trouble this week!  Bree, on the other hand, is very curious as to what I have been doing that keeps me from sitting in the chair adoring and petting her.  She comes up and looks at me like "whatcha doing, Mom?"

She's been such a good dog this week, and very patient with me.  However, when I went out on the porch with her today for a few minutes so she could play in the yard, she instead chose to climb up in my lap and "let" me pet her.  Such a goober!  But she's certainly grown up and matured.  

So now, I really want to know - - - what are YOU working on this week?

Hugs!


Sarah

Sunday, February 26, 2023

Something Old, Something New - Pulling My Heart Strings!


Hi, all!

Have I ever mentioned that we have some great scrap quilters here in Tennessee?  And one of my favorites is Tracy of Tracy's Bits N Pieces.  We met several years ago at a Jen Kingwell trunk show in Nashville, and I've followed her on Instagram (@tracysbitsnpieces) ever since.  Her feed is a constant source of inspiration!  So when I saw this quilt pop up....


...I was (a) immediately enchanted, and (b) messaging Tracy to see if she minded if I created my own version for this tutorial series!  She graciously agreed, and suggested that I check out the quilt she made with the pieces she cut off of her string blocks while making the hearts.  Check this out!

Does anyone besides me remember the Certs commercials - "two, two, two mints in one"? I love when you can get two quilts from one!

And if you are like me, you are drowning in strings!  I have a hard time throwing any fabric away, and strings seem to be common, and also easy to store.  I have mine sorted by color in this wonderful set of storage drawers given to me by a friend.  It took Lilli and me a while to do the pressing and sorting, but now they are all ready for use - so let's use them!

Although Tracy used red and cream for her hearts, I would think you could use any color combination you prefer.  So see what you have a lot of in your strings storage and drag them out!

And I'm going to make a confession right here, right now - my nickname could be "Short Attention Span Sallie"!  So my version won't have as many string blocks as Tracy's does.  I get bored easily!

So here's the way to make my version of Pulling My Heart Strings...


Step 1 - take sheets of paper, as thin as you can find (phone books are ideal but a lot harder to find these days!) and cut 28 5.5" x 8.5" pieces.  Yes, that's half of a piece of copier paper.  Makes it easy, doesn't it?  I used an old pad of tracing paper I found in a drawer.

Step 2 - Set your sewing machine stitch fairly short, dip into those strings and start sewing them to the paper in the direction of the long edge.  String blocks are low stress - it doesn't matter if your seam allowances are perfect or your seams exactly straight, as long as you completely cover the paper.  

I start with a strip in the center, then sew another strip to each side because I also recommend pressing after you add each piece, so your block is nice, flat and square when you finish pulling the paper off. Starting in the center means you can sew two seams before pressing!  

Make 28 of these.  

Flip the blocks over, tear away the foundation paper, then trim them to 5.5" x 8.5".

Step 3 - From your light colored background fabric, cut 6 5.5" squares and 12 2" squares.  From your dark-colored background fabric, cut 22 5.5" squares and 44 2" squares.

Step 4 - The Left Side of The Heart - lay the 5.5" square on the lower left corner of the block, matching the left and lower edges.  Stitch diagonally from corner to corner.  You may find it easier to mark the stitching line, with a pencil or Hera marker, prior to stitching.  Now, if you plan to use your bonus triangles in another quilt, stitch about 3/8-1/2" away from that stitching line (closer to the outer corner).  This way you can just cut between the two lines of stitching and your HST block all sewn together and ready for trimming!  Take the 2" squares and lay them on the right and left upper corners, lining up the edges of the squares with the block.  Stitch diagonally from corner to corner.  (These "bonus" blocks would be so tiny that I don't usually save them.)  Cut 1/4" from the stitching line on the corner side of the stitching line. Press the background triangles out, being careful not to distort the block.  Make three of these blocks with light backgrounds and 11 with dark backgrounds.

Step 5 - The Right Side of the Heart -  lay the 5.5" square on the lower right corner of the block, matching the right and lower edges.  Stitch diagonally from corner to corner.  Now, if you plan to use your bonus triangles in another quilt, stitch about 3/8-1/2" away from that stitching line (closer to the outer corner).  Trim either between the stitching lines or about 1/4" from your line of stitching.  Now take the 2" squares and lay them on the right and left upper corners, lining up the edges of the squares with the block.  Stitch diagonally from corner to corner.   Cut 1/4" from the stitching line on the corner side of the stitching line. Press the background triangles out, being careful not to distort the block.  Make three of these blocks with light backgrounds and 11 with dark backgrounds.

Step 6 - Take the half-heart blocks to the cutting board.  We are going to trim a half-inch off the OUTSIDE edge of the heart so that your final block will be 5" x 8.5".  Be sure you trim it off the outside edge and not the center! 

Step 6 - Matching the blocks along the long center line, pair 3 light lefts with 3 dark rights, 3 dark lefts with 3 light rights, and 8 dark rights with 8 dark lefts.  Sew the hearts together.  Press the seams to the right.

And voila!  Your heart blocks are made and you've finished the hardest part of the quilt.  That wasn't so bad, was it?

Now we assemble the quilt.  

You will need 6 light background pieces cut 5"x8.5", 2 pieces cut 5"x16.5", and two pieces measuring 5.5" x a length to be determined (can be pieced).

You will need 6 dark background pieces cut 5"x8.5", 2 pieces cut 5"x16.5", and 4 pieces measuring 5.5"x a length to be determined (can be pieced).

Take the dark and light 5"x8.5" pieces and pairing one of each, stitch on the long edge.  Press seam to the left.  Repeat with the 5"x16.5" pieces.  Press seam to the left.

Using the two-color blocks and the two-color hearts and matching the center seams, create the right and left columns of hearts.  The hearts should look like they are straddling two long strips of color.  Press the seams toward the background fabric blocks.

Using the remaining eight dark background hearts and matching the lower points with the center seam of the block below, create the center column of hearts.  Press the seams down.  Measure the strip, top to bottom.  That is how long you will make your long strips.

Take one 5.5" wide long dark piece and one 5.5" long light piece and sew them together along the long edge, being careful not to stretch the fabric as you sew. Press the seam to one side.  Make 2 of these.

Now assemble the quilt, using one 5.5" wide long dark background strip, the dark/light heart column, the light/dark background column, the dark background heart column, the dark/light background column, the light/dark heart column, and the remaining 5.5" wide long dark background strip.

Step back and look at the beautiful quilt top you have assembled!  And if you're so inclined, there's so much room for beautiful creative quilting on this quilt.  The possibilities are endless!

I would probably use one of the two background colors to bind this quilt to allow it to kind of flow and not stop, but choose whatever makes your heart strings sing!

*&*&*&*&*&*&*

I hope you've enjoyed this scrap buster tutorial!  Please stop over at Tracy's blog or Instagram and show her some love - she was so kind to allow me to take her design and run with it.  I guarantee you'll be inspired!

See you next week!


Hugs!


Sarah


Friday, February 24, 2023

Can I Get A Whoop Whoop? A VERY Productive Week!


Hi, all!

Well, it's Friday again, and hopefully you're not snowed in somewhere! .Although you know what they say - snow day, sew day!  But it being Friday, it's time for us to get our whoop whoop on, so let's get started!

*&*&*&*&*&*&*

I started out this week with the hope of getting a quilt for my great-niece finished, and I'm so happy to say that I met that goal!


It's a sweet little quilt, and I backed it with leftover bits and bobs of the fabric I used for the hearts on the front.  Some swirly-girly quilting gives it a wonderful texture! It's currently in the mail headed to my niece.

But wait - that wasn't enough!  We are in the midst of two big projects for the quilt ministry at church - the quilts we make for our high school graduates each year and another, larger, project that I can't talk too much about it right now.  But needless to say, we've got a lot of quilting to do!  So I got the bright idea of striking up a friendly competition with my friend Piper, who has been keeping the quilt ministry running for the past year in part by doing much of the quilting.  We decided to see who could quilt more quilts by the next time we meet (next Tuesday) and we were off to the races!


I quilted these two on Wednesday...

...then added this one...


...and this one on Thursday!


And this one is loaded up on the frame and ready to go first thing Friday morning!

Five quilts in one week is pretty good - but hopefully I'll double that by next Tuesday.  We shall see!

In other news, today (Thursday) we had an absolute gift of a day here in Tennessee.  The sun was shining, and it got up to 82 degrees!   It was so wonderful to be a blessing to go sleeveless and barefoot all day.  Tomorrow the high will only be 55, but for one beautiful day in February, we had a little foretaste of spring!

So - - - can I get a whoop whoop?

*&*&*&*&*&*&*

And now it's your turn!

What's making you whoop it up this week?

What's got you doing a little happy dance?

Share! We want to dance right along with you,

And it's always more fun to dance with friends!

The party will stay open until Sunday midnight.

Hope to see you there!

Hugs!

Sarah


Monday, February 20, 2023

Make-A-List Monday -Hallelujah! The End Is In Sight!


Hi, all!

Another week has come and gone, and progress has been made!  I do love making quick easy quilts - lots of instant gratification!  So let's take a look at last week's list to see how things went...

1.  Finish the tutorial for the fourth prototype quilt. Mainly that's just adding pictures!

Done!  If you missed it, the tutorial for this quilt was posted this past Sunday...


2.  Finish the fifth prototype quilt and take pics!

Done!  I'm really happy with the way this one came out.

3.  Finish the sixth prototype quilt and take pics!

Done!  I'm loving the rainbow colors in this one...

4.  Give my friend Piper a lesson in ruler quilting on the long arm.

We had fun, but of course, I forgot to take any pics! 

5.  If time permits, quilt a ministry quilt.

I didn't quilt one, but I did put binding on four that Piper brought me when she came to play in my studio!  Here's two of the quilts I finished...

And not on the list, but something I did this week...


I made a back for the baby quilt for my great-niece!

So, all in all, a good week!  I've still got a little bit to do to finish up the last two tutorials, but plenty of time to do it in.  Hooray!!!  Here's what's on my plate this week...

1.  Finish the tutorial for the fifth quilt.

2.  Finish the tutorial for the sixth quilt.

3.  Quilt my great-niece's (long overdue) baby quilt!

4.  Quilt some ministry quilts.

5.  Make backs for the stack of tops I have piled up!

6.  Pick up my studio - it's looking rough!

We are working on a couple of big projects for the quilt ministry - as usual, we are making quilts for our graduating seniors, and we're also working on quilts for a special group of teachers.  Altogether, it's about 75-80 quilts, and we're scrambling to try to get them all done by May.  We've got a really good start on it, the high school quilts will definitely be done by then, and maybe even the teacher quilts!  But it's got to be pedal to the metal time for quilting over the next couple of months.  Luckily, we've got a couple of new folks in our group with long arm machines, so we've doubled our quilting staff.  AND we got a new long arm machine at church, which is much more reliable (and larger) than our previous machine!  

I also REALLY need to clean up my studio - if it's bad enough to drive me crazy, you know it's really bad.  I think I'll try to set a timer each day for a certain amount of time to really dig in and get it done a little bit each day.

So now, I really want to know - - - what are YOU working on this week?

Hugs!

Sarah

Sunday, February 19, 2023

Something Old, Something New - A Modern Irish!


Hi, all!

When I was planning out these tutorials, I thought I remembered stashing away all the pieces for a second quilt like this one...


...but lo and behold, my memory was faulty and the pieces I had stashed away were for a different red and white quilt!  But by then I had already committed mentally, so I decided to make it again, but in a different color.  This is a great sixteen-patch quilt that is so much easier than it looks!

Sixteen-patch blocks are so very versatile - lots of ways to arrange the fabrics to achieve a different look.  This quilt gives off a kind of updated "Irish chain" vibe that I love! (And yes, that is our old house in the background.  It's fun to see pictures of it crop up from time to time!)

This quilt is made using two different color variations of the same block, using various red and beige fabrics to give it some depth.


Isn't that pretty?  I love all the different shades of red!

I decided to do this year's version in a very different colorway....


Isn't that orange just luscious?  I pulled a bunch of white-on-white prints out of my stash - it felt so good to use up those little bits and bobs of fabric - and it paired so nicely with the orange prints.  And I got so excited about this one, I apparently forgot to take process shots with the new colors - so I'll be using the old instructions and pictures for this tutorial.  Here goes!

My version of this quilt has 49 blocks set into a 7 x 7 grid, with a 2" border on each side to yield a 60" square quilt.  There are 25 red blocks and 24 white blocks.  I used fat quarters cut into 2.5" x 22" strips to make the strata sets (four strips sewn side by side).  I cut my strips from sixteen different reds and sixteen different whites to get a wide variety of shades in my quilt, although you could do it with fewer colors.  You can get 6-7 strips from each fat quarter.  In total, you will need 56 red strips and 50 white strips, 2.5" x 22", to make this quilt.

In the directions below, R stands for red and W stands for white.

For the white blocks, you will need 6 sets of strata assembled WRWW, and 6 sets of strata assembled WWWR.


For the red blocks, you will need 7 sets of strata assembled RWRR and 7 sets of strata assembled RRRW.


Once your strata is assembled and pressed (I pressed my seams open to make it easier to assemble the blocks), crosscut each strata into eight pieces, 2.5" wide.


For each white block, you will need two pieces of WWWR, and two pieces of WRWW.  Arrange them as shown below.  For each red block, you will need two pieces of RRRW, and two pieces of RWRR, arranged in the same way.


Once your blocks are assembled, arrange them alternating red and white blocks.  Arrange the diagonals of the red blocks from upper left to lower right, and the diagonals of the white blocks from upper right to lower left.  I added a red border to finish off my quilt, although you don't necessarily need it.  My finished quilt measures about 60" square.

 And just because it's pretty, here's one last shot of this year's version! 


*&*&*&*&*&*&*

Definitely a blast from the past, but so pretty it was worth checking out again, yes? I could also see this quilt made with assorted batiks or even Kaffe Fassett prints, using a solid for the diagonals.  So it might make a great scrap buster, or a way to use a fat quarter bundle or jelly roll or two that have been gathering dust in your stash. The possibilities are endless!  And now that you know a quick and easy way to make the blocks, what are you waiting for?

Hugs!

Sarah

Friday, February 17, 2023

Can I Get A Whoop Whoop? Small Accomplishments Add Up!


Hi, all!

It's hard to believe, but another week has passed and it's Friday again - and you know what that means!  It's time for us to get our whoop whoop on!  Let's get started!

*&*&*&*&*&*&*

As of the beginning of this post, I don't feel like I have accomplished much this week - but let's see if I can change my own mind by the end!


I started out the week by doing a little trimming and creating this pretty pile of scrap!  They always look so inviting, don't they?  I'm hoping our local birds will think so too.  It's always fun to see the little slivers woven into their nests!


Then I worked out all the kinks and finished this quilt top, one of this year's tutorial series.  Now to finish the tutorial!


And then yesterday I did four bindings on quilts for our high school graduates at church!  Here's two of them - the other two are in the dryer as I write this.  

I also had a friend and fellow ministry quilter over to my studio - she wanted some instruction in ruler quilting, so we loaded up some scrap fabric on the quilt frame and went at it!  It was a fun morning which I unfortunately failed to document in pictures.

Looks like I did accomplish a good bit this week!

So - - - can I get a whoop whoop?

*&*&*&*&*&*&*

And now it's your turn!

What's got you whooping it up this week?


What's making you do a little happy dance?

Share!  We want to dance right along with you,

And it's always more fun to dance with friends!

The party will stay open until Sunday midnight.

Hope to see you there!

Hugs!

Sarah