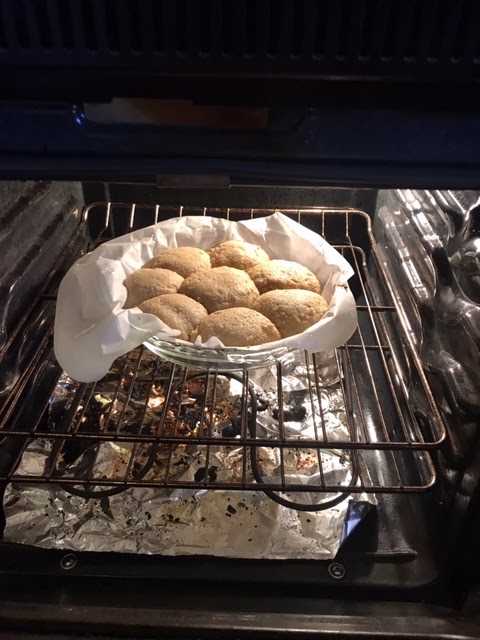
How quickly time flies when you're having fun - and just imagine how quickly the days until Christmas are going to fly by! But I hope that you're getting some inspiration, and maybe even a head start on your Christmas crafting! Today I'm going to share a recipe with you before we move on to the last two blocks for the center of the Christmas quilt. Let's go!
*&*&*&*&*&*&*

Many of you already know how proud I am of this girl (my eldest granddaughter, Lilli) since you've seen her grow up from her earliest appearance on my blog in 2010....

...to today. She's changed a lot, right? Well, for many years now Lilli has wanted to be a pastry chef (although she's thinking about adding astrophysicist into the mix now!) and she make SPECTACULAR chocolate chip cookies. We joke that her philosophy is 25% cookie, 75% chip! That's not precisely right, but for her, it's definitely more is more.
Well, I asked her if I could share her recipe here for the 12 Days of Christmas in July - because if you're like me, you stink at decorating cookies, but a truly delicious, well made chocolate chip cookie can go a long way in taking people's minds off those pretty decorated ones! So here's her recipe:
Lilli's Chocolate Chip Cookies
1 cup butter, softened
2/3 cup sugar
2/3 cup brown sugar
2 tsp vanilla extract
1 tsp salt
1 tsp baking soda
2 eggs
2 1/4 cup flour
1 cup dark chocolate chips
1 cup milk chocolate chips
Whip together butter and both sugars for 3-5 minutes or until light and fluffy.
Add in vanilla, salt and baking soda and mix until combined.
Add eggs one at a time.
Add in flour. When flour is partially mixed in, add chocolate chips.
Mix until fully combined.
Bake at 350 degrees F 13-15 minutes.
Now, in the interest of being sure the recipe was correct, I made a batch. No other purpose, I promise (ha ha!). Trust me that your cookies will taste best if you really whip up that butter! I set my stand mixer to a high speed and set a timer for five minutes, just so I don't shortchange the process. I do scrape down the sides of my bowl occasionally (I have the really large mixer and small batches sometimes get pushed up on the sides and not mixed well) so you may need to do this as well. Your butter will get lighter in color as well as fluffier the more you whip it.

Now, I have to admit that quite a few cool kitchen tools have made their way into my drawers since Lilli started baking over here....

...like these magnetic double-ended measuring spoons. Very useful for this recipe, as I can use one end for the liquid measurements and one end for the dry! But the fact that they all stick together in the drawer is a plus too.


3 3.5” sq. white
3 3.5” x 2” white
1 3.5” x 2” green
1 2” sq. green
4 3.5” sq. red/white 9-patch blocks
Step 1 - Lay out the pieces as shown below.

Step 2 - Draw a diagonal line on the back of the green 2” square. Take one of the white 3.5” x 2” pieces and lay the green square on the right end of it, aligning edges and corners and having the diagonal line running from upper right to lower left. Stitch on the line. Trim off the corner. Press out. Take another of the white 3.5” x 2” pieces and sew it to the bottom of the W/G piece. Press seam down toward the white piece. Replace in the layout on your work table.
Step 3 - Take the remaining white 3.5" x 2” piece and the green 3.5” x 2” piece and sew them together along the long edge. Press seam up towards the green piece. Replace in the layout on your work table.
Step 4 - Assemble the nine-patch block. This block will go in the lower left of your Christmas tree unit.
3 3.5” sq. white
3 3.5” x 2” white
1 3.5” x 2” green
1 2” sq. green
4 3.5” sq. red/white 9-patch blocks
Step 1 - Lay out the pieces as shown below.
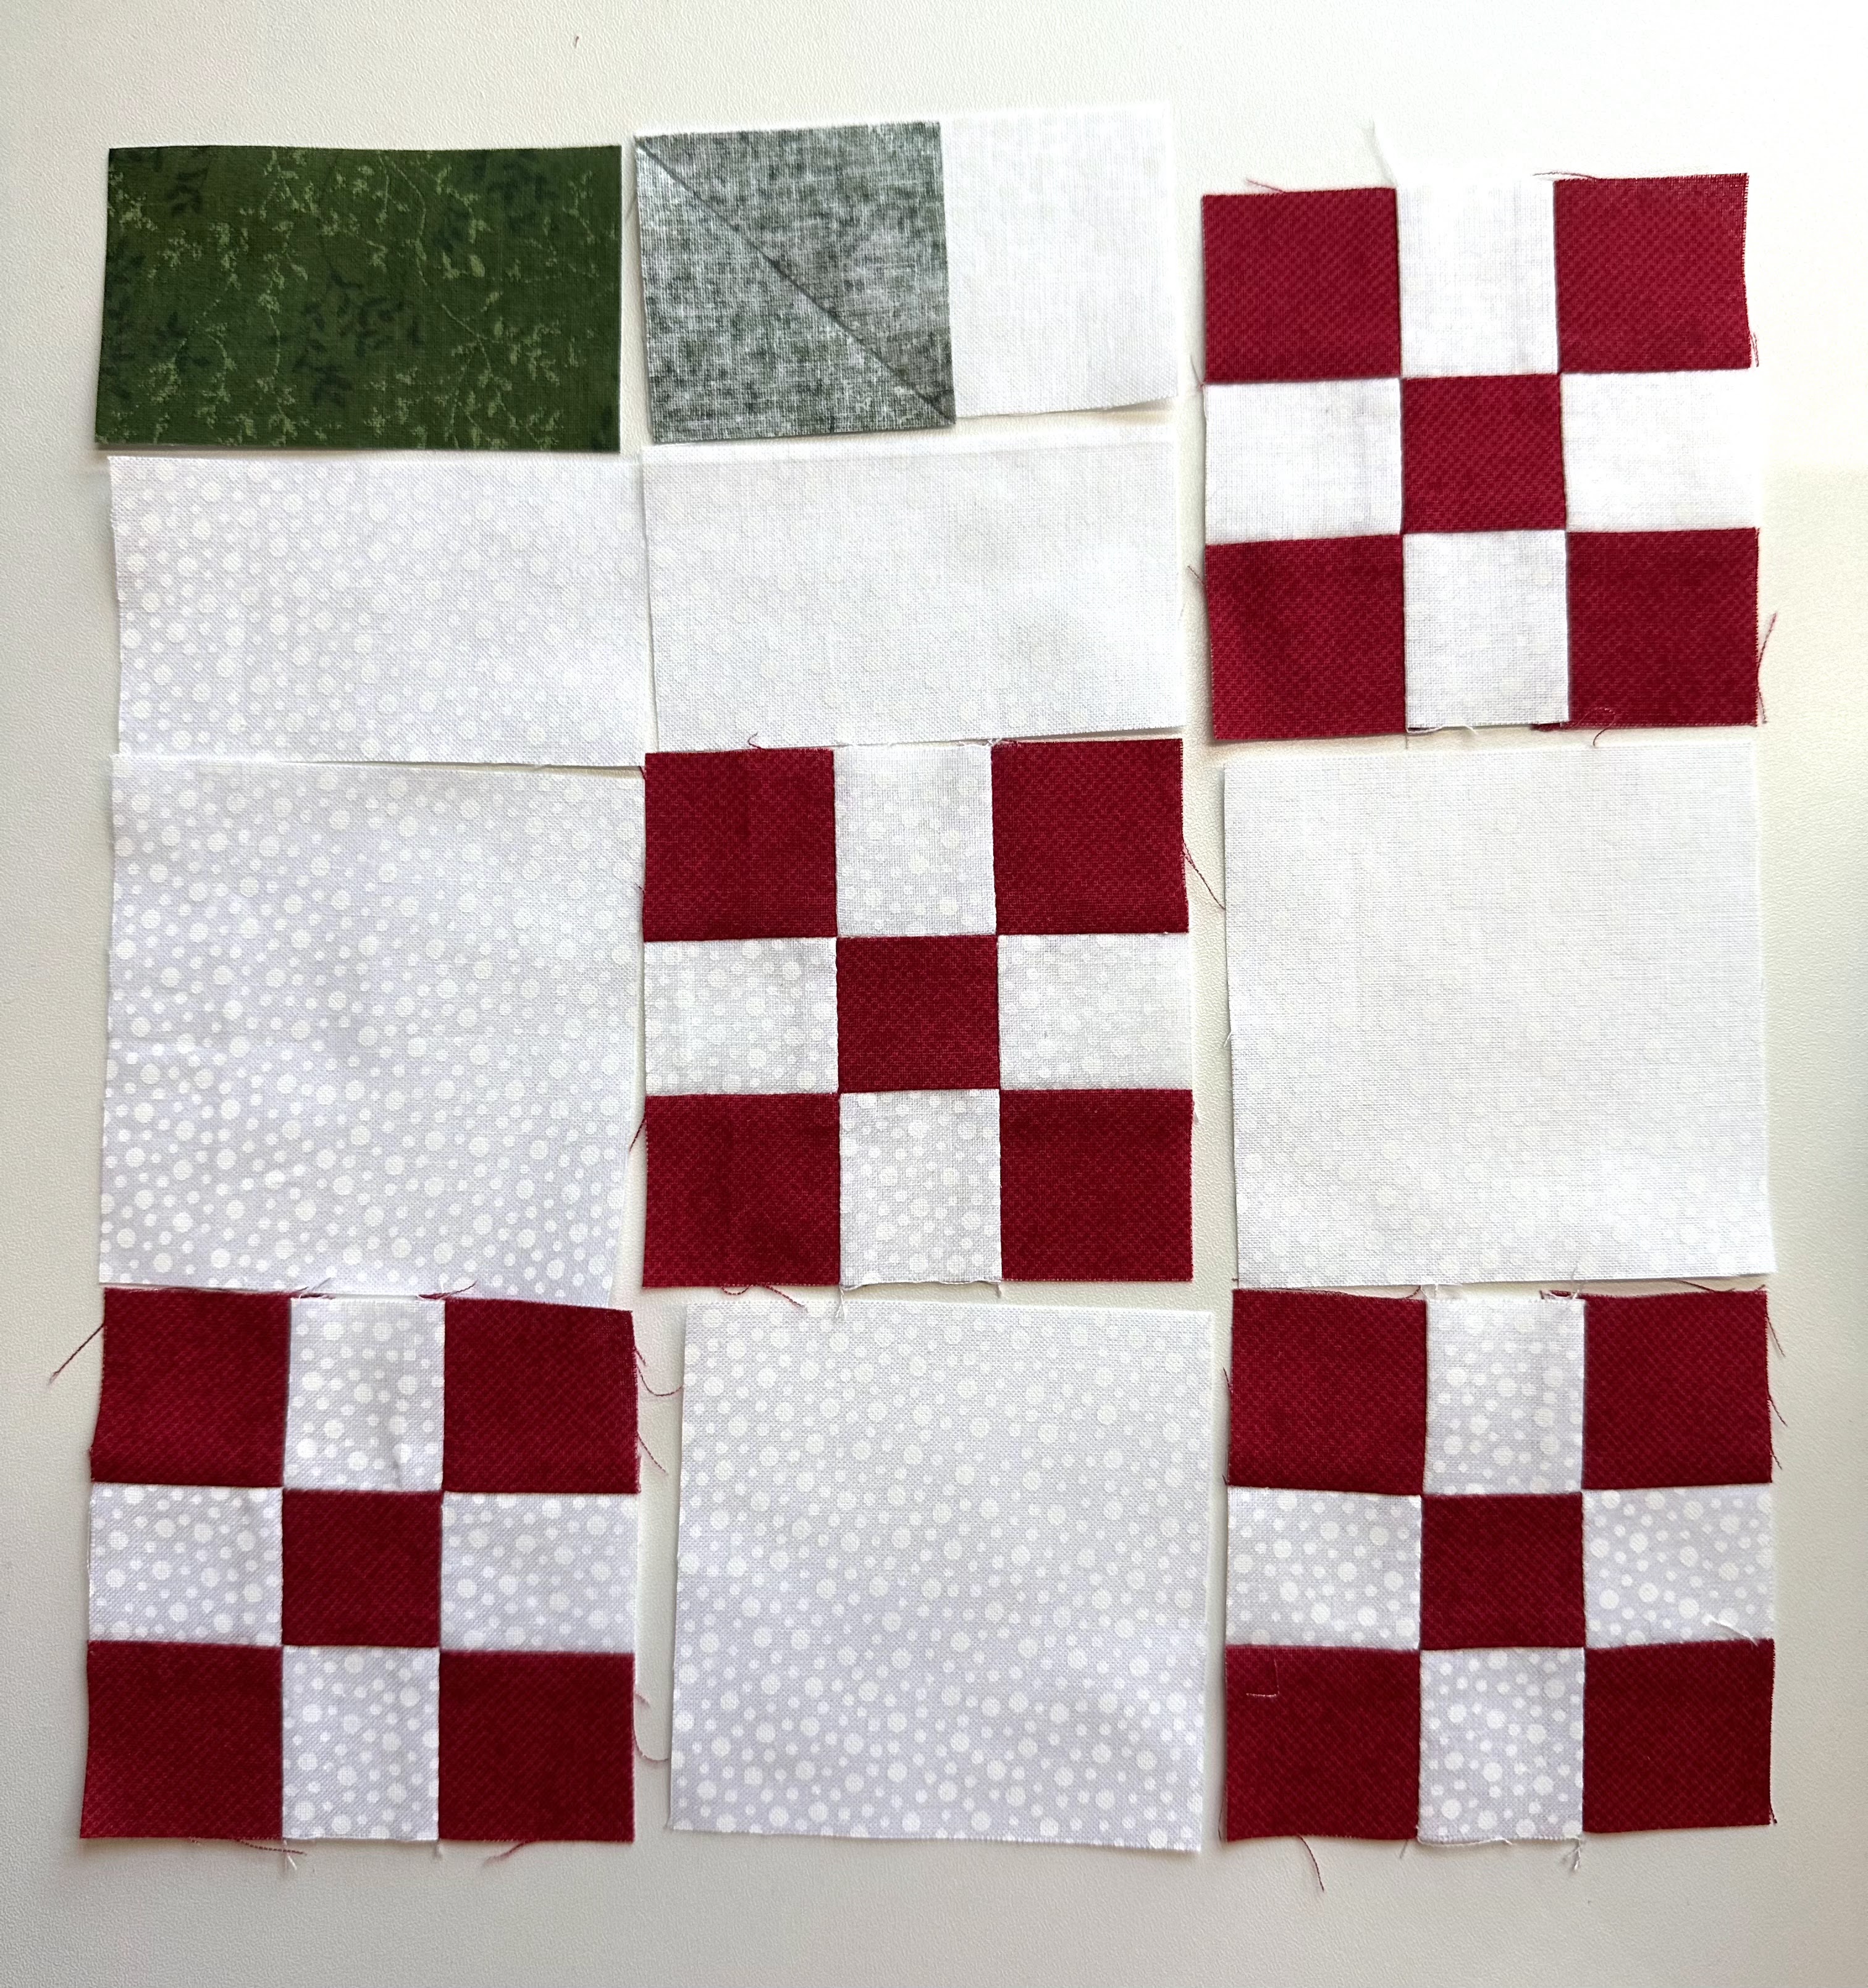
Step 2 - Draw a diagonal line on the back of the green 2” square. Take one of the white 3.5” x 2” pieces and lay the green square on the left end of it, aligning edges and corners and having the diagonal line running from upper left to lower right. Stitch on the line. Trim off the corner. Press out. Take another of the white 3.5” x 2” pieces and sew it to the bottom of the W/G piece. Press seam down toward the white piece. Replace in the layout on your work table.
Step 3 - Take the remaining white 3.5" x 2” piece and the green 3.5” x 2” piece and sew them together along the long edge. Press seam up towards the green piece. Replace in the layout on your work table.
Step 4 - Assemble the nine-patch block. This block will go in the lower right of your Christmas tree unit.