

Recently I was contacted by a nurse who works for a local oncology clinic. She had received a quilt from our quilt ministry in the past, and thought our group might be able to help her out. She was looking for someone who could make port pillows for them to give out to chemo patients. Now, I had never heard of port pillows, but she sent me some pictures and I went in search of a pattern.

Port pillows are designed to attach to the strap of a seat belt and prevent the belt from irritating a port, which is implanted under the skin of the upper chest to facilitate the administration of chemo. I found lots of patterns but found one I really liked on a website called createtodonate.org. (FYI they also have a lot of other really good patterns if you are looking for other things to donate!) This pattern is super simple, as you'll see below! So here's how I made them...

The first thing you'll need is two pieces of fabric, cut 4" x 7". I used scraps that I cut off the end of a quilt backing for this, and it was a great way to use a middling large piece of scrap! You'll also need two pieces of sew-in hook-and-loop tape (Velcro), each 3.5" long. It probably goes without saying, but when I refer to a "piece" of hook and loop tape, it consists of both a hook side and a loop side.
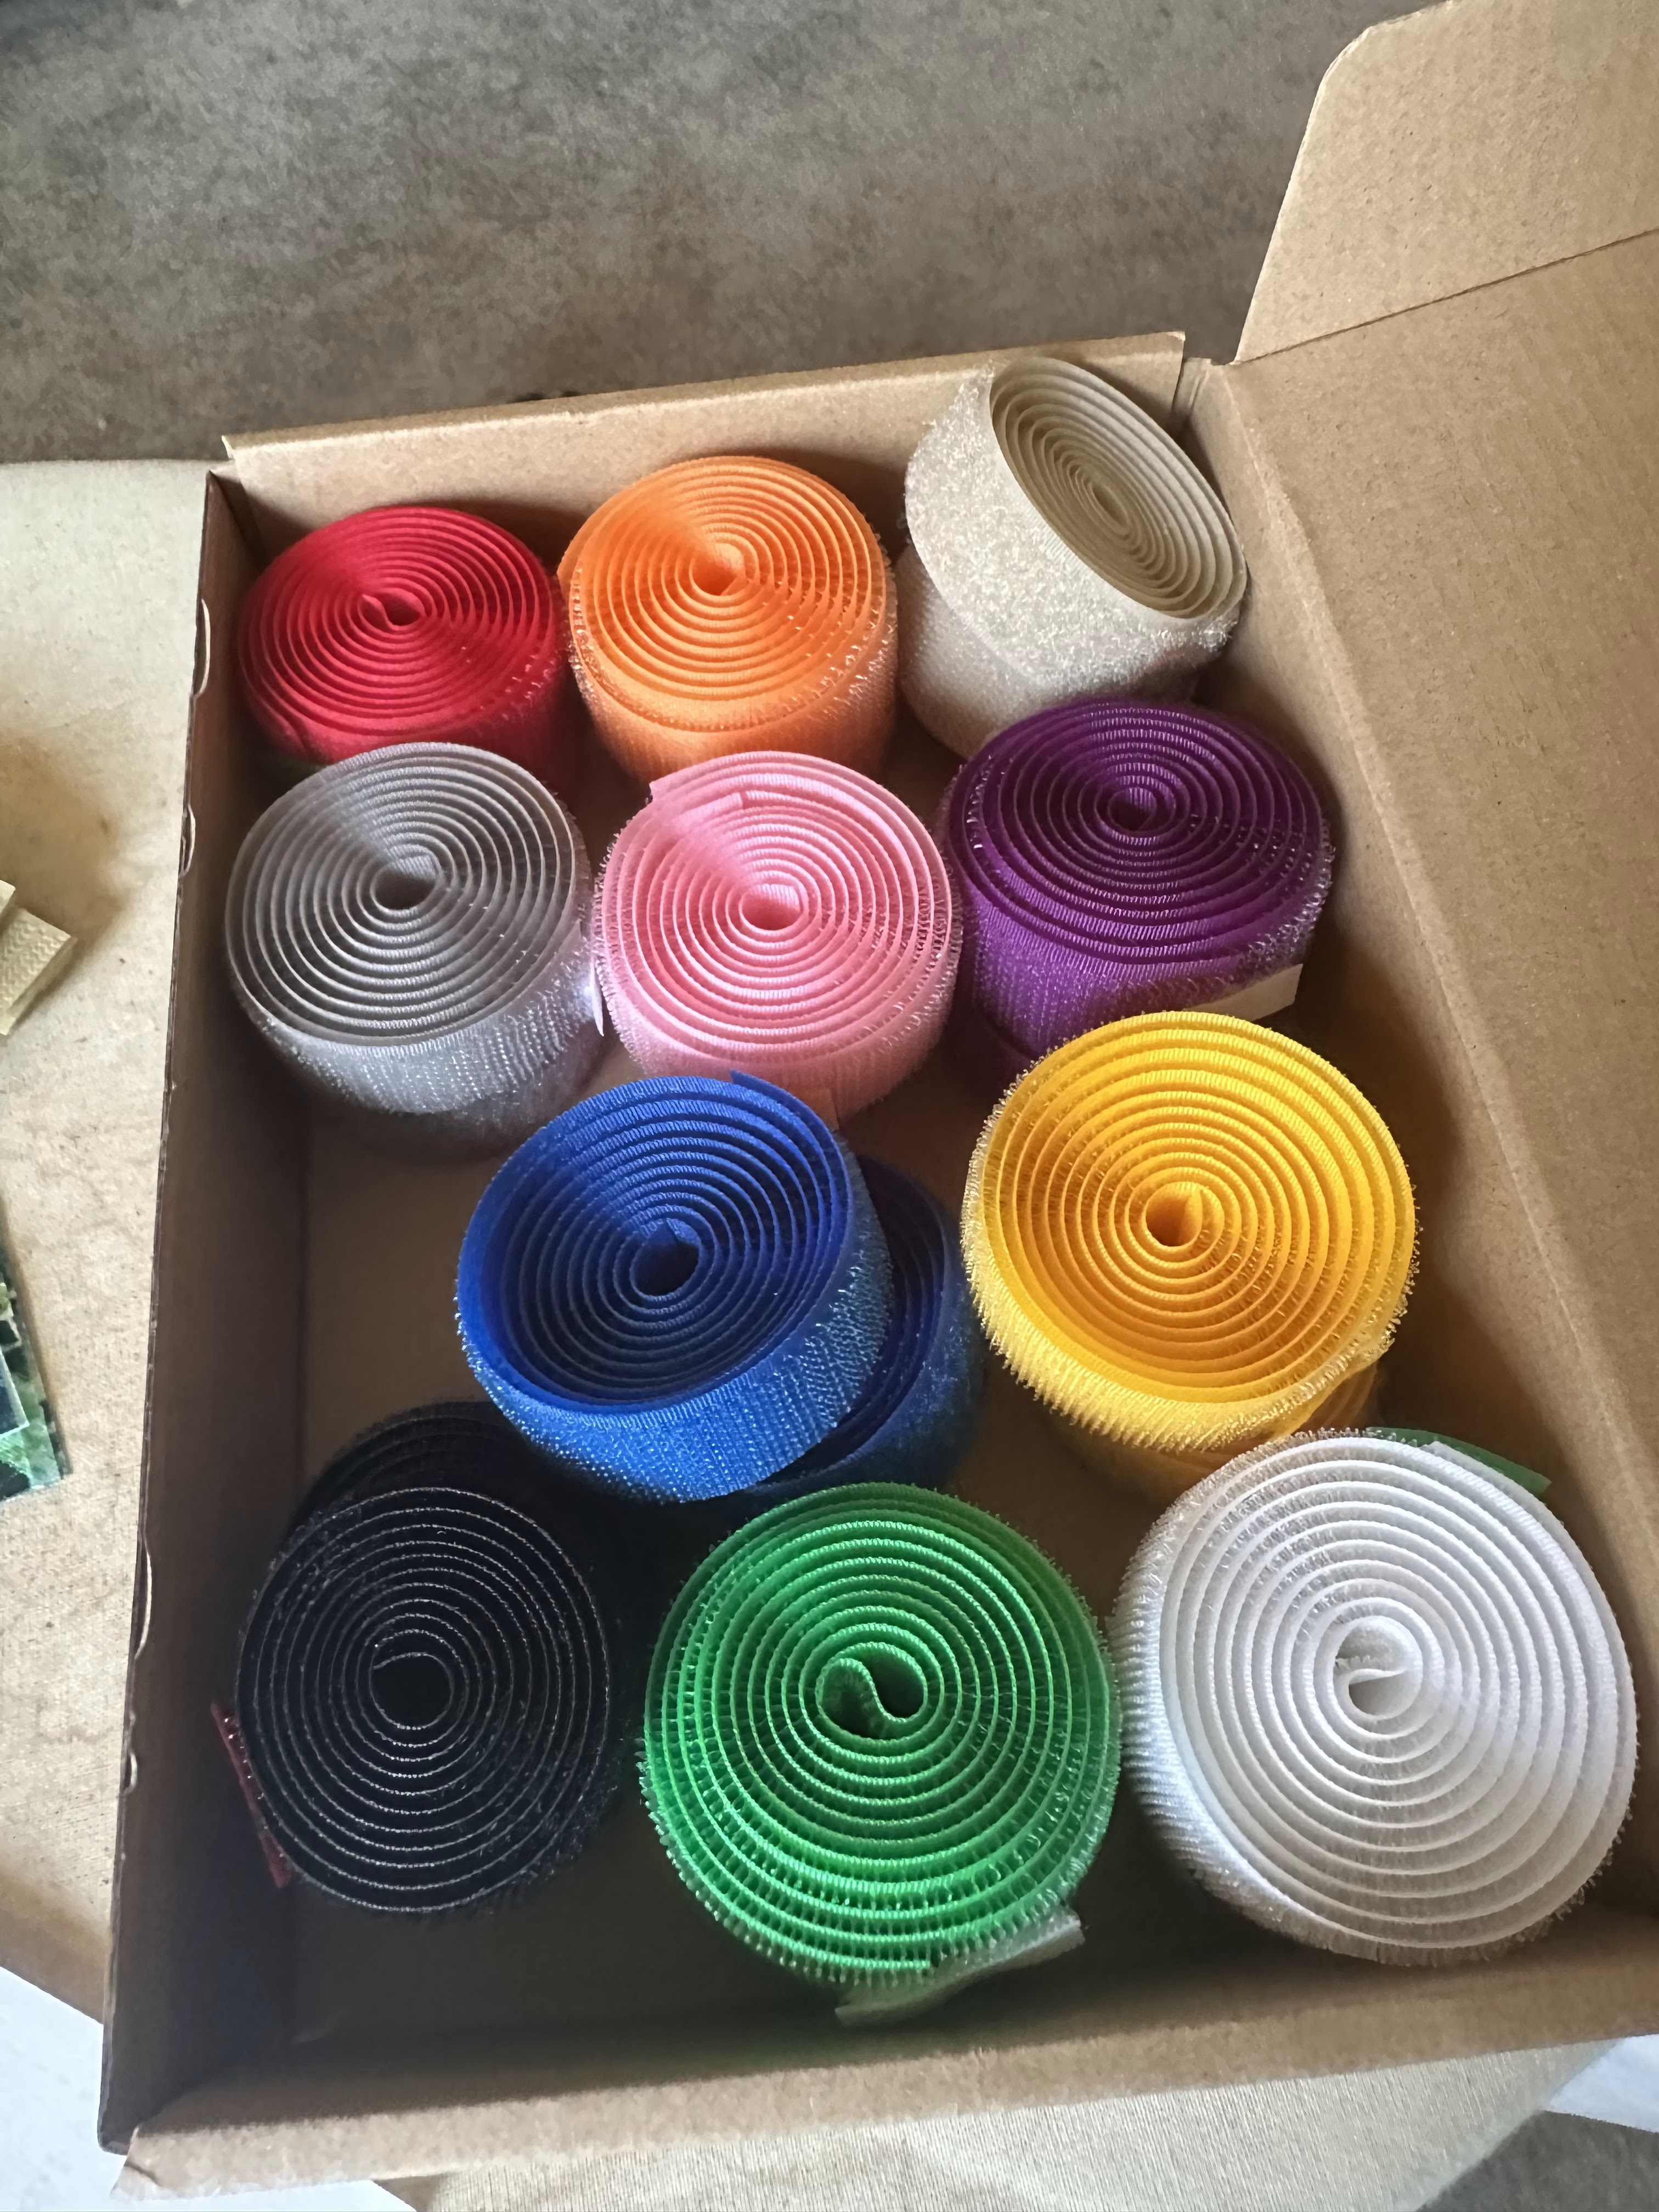
I found this nice assortment of colored hook-and-loop tape on Amazon, but be careful - they state that this is 24 yards of hook and loop tape. However, it is 12 yards of hook (one yard each of 12 colors) and 12 yards of loop. So essentially, it is only 12 yards of hook and loop tape. But it was still a really good deal, price wise. You can get five sets of two from a yard of hook and loop tape. I thought I had a really good stash of leftover hook and loop tape, but it turned out that all of mine was sticky backed - not good for this particular purpose!

There are probably many ways to attach the velcro to the fabric, but I found that by putting the two pieces together in a 4" strip, then attaching them, I didn't have to deal with it sticking together where I didn't want it to. Fortunately, I had a 4" ruler that was perfect for this, so I laid the loop side even with one end and clipped it on, then lined the hook side up even with the other end of the ruler and carefully pressed it down on the loop side. Now my tape was put together and not likely to catch on anything else, AND was exactly four inches long and ready to be sewn on.

With the loop side facing up and lined up with the right side of the fabric, I measured 1.5" down from the top and stitched 1/8" away from the end, just to hold it in place. Then I flipped it around and, measuring once again, stitched down the other side.

Repeat on the other end of the fabric so that you have two pieces of hook and loop tape attached.

Now lay your second 4"x7" piece, right sides together, on the first piece. Pin if you feel so inclined (you can see how I pinned it above) and, leaving a 2" opening on one of the short ends, use a scant 1/2" seam to stitch the two together.

Now, this is a step I added to the on-line pattern, but I trimmed my corners diagonally, which makes it turn nicely! I use a chopstick to turn mine, and also to stuff them, but maybe you have another trick for turning. Do whatever works best for you!

Cheap polyester fiberfill works really well, and a one pound bag goes a long way! I've made 18 already and haven't made a dent in my bag.

And here's the last step - sew that opening shut! I did mine on the sewing machine - just pushed the fiberfill back, held the two edges together, and stitched right next to the edge. If you do this, be sure to catch both edges all the way! Or you can hand sew this seam - it only takes a few minutes.

This is awesome. Would love to hear mor. thecabbageleaf@yahoo.com
ReplyDeleteYou could also use up batting scraps as the stuffing.
ReplyDeleteThe Artisanat Club that I belong too did almost 65 of those pre-covid. It was a fun day as we were a dozen girls sewing together for a good cause. We did the portacath pillow exactly like yours. Enjoy! ;^)
ReplyDeleteP.S. you can see us here: https://atthecornerofscrapandquilts.blogspot.com/2019/01/the-month-is-done.html
Thanks for the pattern how to and link. I am putting this on my after Christmas sewing list!
ReplyDeleteI will also make some to donate in January! Thanks for the tutorial!
ReplyDeleteThis is an excellent use of those scraps. Thanks for sharing your instructions and tips!
ReplyDeleteAs a cancer survivor, I can attest to the appreciations of a portacath pillow. I want to check with our cancer center to see if they could use some. Thanks for the link to the pattern
ReplyDeleteThe port pillows are a wonderful idea! I have saved the link you shared on projects for future donation ideas. Thank you so much for that! Happy quilting! -Andrea
ReplyDeleteI would love a pdf of the pattern. I have made chemo caps for people that have needed them. I would love to add this as well. :) Thank you steeleangiemcc@gmail.com
ReplyDeleteI'm Paula from Colorado, I have been blogging for a while now, and today I felt like I should share my story because I was a victim too. I had endometriosis and herpes virus for 18 years and I never thought I would ever get a cure due to the terrible symptoms I had and this made it impossible for me to get pregnant even after 12 years of marriage, and it was a serious issue. Furthermore, I got to know about Dr. Itua on a Blog Site who treated someone and the person shared a story of how she got a cure and gave her contact details, I contacted Dr. Itua, and he actually confirmed it and I decided to give it a try too and use his herbal medicine. That was how my burden ended completely. My son will be 2 this December, and I am grateful to God and thankful to his medicine too.Dr Itua Can As Well Cure The Following Disease… Cancer, HIV, Herpes, Hepatitis B, Liver Inflammatory, Diabetes, Fibroid, Get Your Ex Back, If you have (A just reach his on (drituaherbalcenter@gmail.com or order herbs from his herbs store https://drituaherbalcenter.com/shop/)He can also advise you on how to handle some marital issues. He's a good man.
ReplyDeleteslotxo88 ใครที่ เป็นสายเกม Super เกม Slotxo88 slot ห้ามพลาดเกม pg slot สนุกๆ free splint ภาพสาย ให้โบนัสรางวัลใหญ่จากทางเว็บ ยืนยันด้วยลูกค้าขาประจำมากมาย
ReplyDeleteสล็อต pg เว็บ ตรง สมัคร PGSLOT เว็บไซต์ตรง โบนัสฟรี 100% แจกเครดิตฟรีสล็อตทุกเกมรองรับการใช้แรงงานภาษาไทย PG สล็อต ธีมเกมสดใหม่ เล่นบันเทิงใจภาพงามโบนัสมากฝาก-ถอน รวดเร็ว
ReplyDelete