
Time snuck up on me this week, and I almost forgot to write this week's Fat Quarter Frenzy post, but here I am! If this is your first time stopping by, we've just started a series of tutorials for simple, quick quilts that can be made with fat quarters. Last week we made a St. Louis 16-patch that used up sixteen fat quarters from my rather voluminous stash of them. This week, we're moving from square to triangles as we create a beautiful top that reminds me of a kaleidoscope image. Let's go!
*&*&*&*&*&*&*&*
.jpeg)
Kaleidoscope
A Fat Quarter Frenzy Quilt
Materials:
14 Fat Quarters (FQ) measuring a minimum of 17” x 20” after squaring up.
There should be a wide range of colors in your FQs to achieve a good effect.
Cutting:
From each squared up FQ, cut 7 strips 3” wide x 17”. When finished, you should have 98 strips.

Assembly:
Sort the strips into 32 sets of three contrasting strips. (You will have two left over)
Sew the strip sets together, always starting your seams from the same end of the set.
Once all your strip sets are sewn together, press the seams. (I chose to press mine open so that they would be easier to match)
More Cutting:
Now you will crosscut your strip sets into two blocks. Measure your strip sets and see how wide they are. Mine were 8.25” wide, so I cut my blocks 8.25” square. After cutting your strip sets, you will have 64 strip blocks.
Now pair up the blocks that will be in each large block. You will need two sets of two identical strip blocks for each block. (16 sets total)
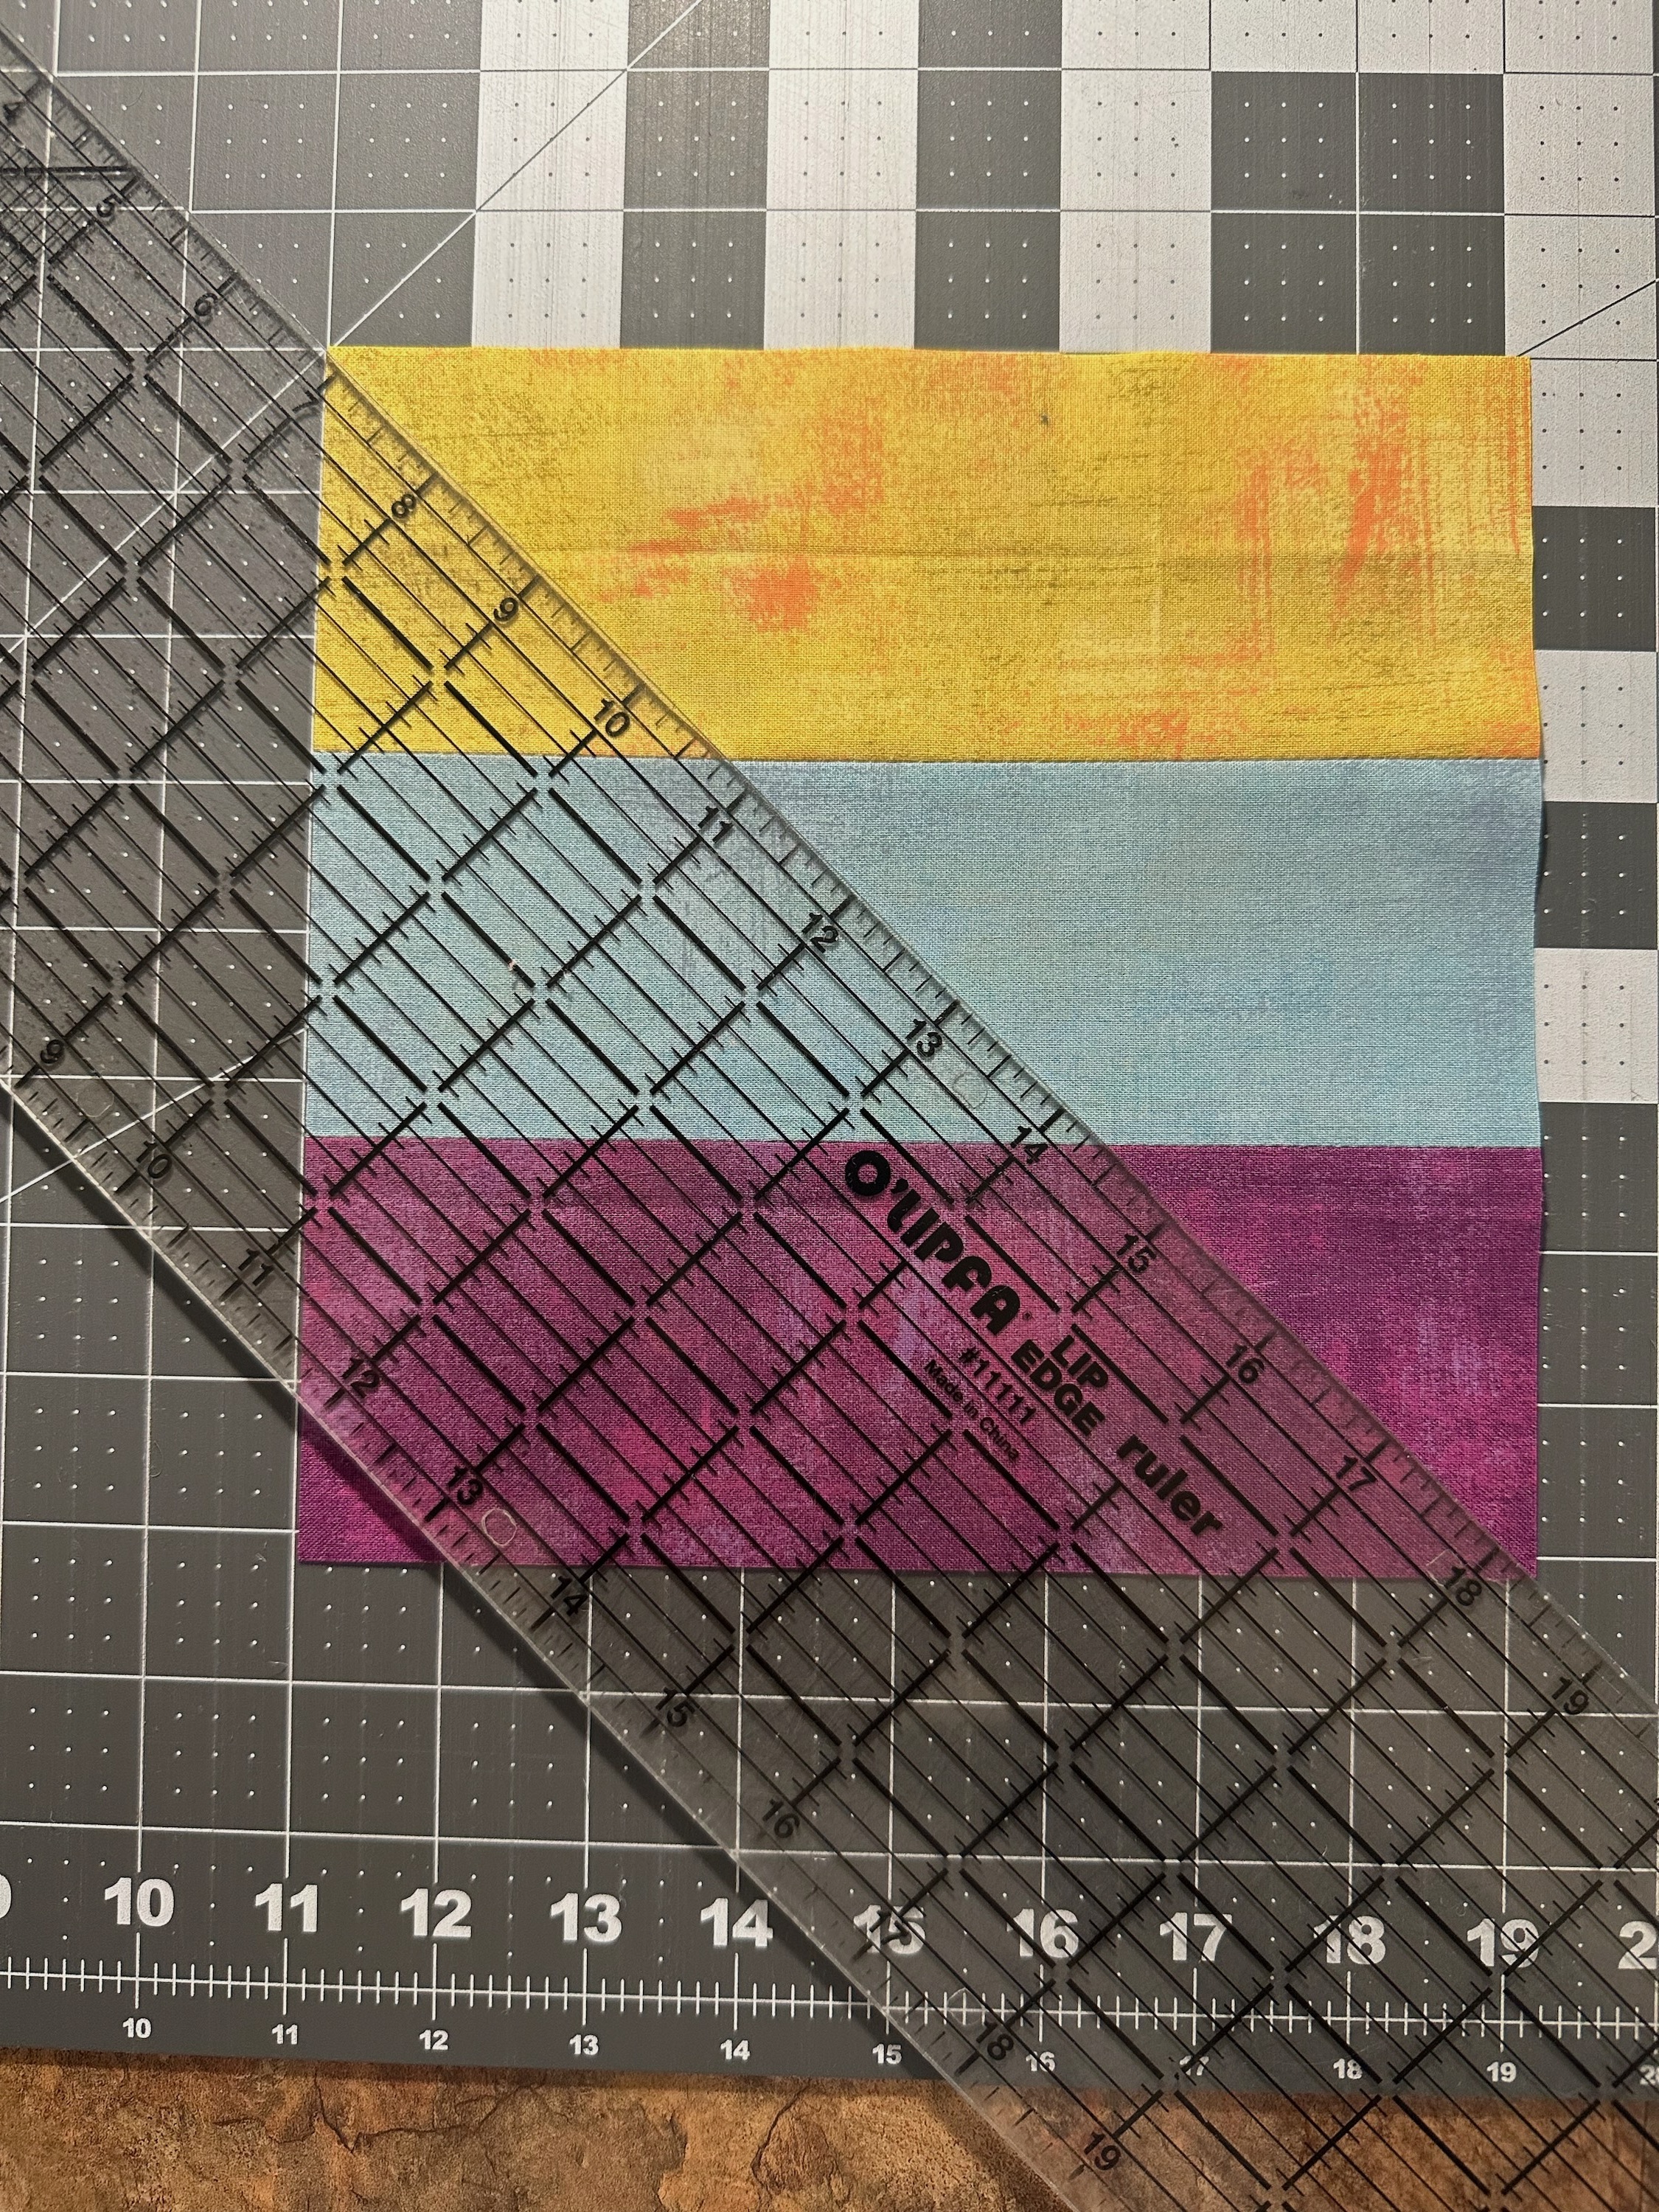
Choose one of the sets you just prepared, and take the first identical set of strip blocks and lay them on your cutting mat with the stripes going horizontally. (BE SURE the blocks are laid with the same color at the top!) Cut these two on the diagonal from upper left to lower right.

Take the second identical set of strip blocks and lay them on your cutting mat with the stripes going horizontally. (BE SURE the blocks are laid with the same color at the top!) Cut these two on the diagonal from upper right to lower left. Keep all of these triangle sets (2 sets of four triangles) together to be assembled into one large block.
Repeat for all 16 block sets.
Back to Sewing:
I chose to use two different block designs in my quilt, because I liked the secondary patterns it created. If you prefer, you can assemble all of your blocks using just one or the other of the designs.

For each of the two blocks, you will assemble the same basic component block. Do this by taking one triangle of each color set and sewing them together along the long diagonal, matching the seams. Take care not to stretch this seam as you sew - it is cut on the bias. Press the seam open.
Repeat until all 64 component blocks are assembled. You should have two sets of two identical component blocks for each large block.

Square up those blocks so that they are all the same size, using a ruler that allows you to place a diagonal line along the diagonal seam of the block. You may not trim off much, but believe me, but will make your quilt look much nicer in the end!
Now on to assembly of the blocks.
Block #1:
Block #1 reminds me of the old TV test patterns! It’s easy to assemble. Take two sets of two identical blocks and place two identical blocks in the upper right and lower left corners, with the small triangles in the center. Take the other two and place them in the upper left and lower right corners, with the small triangles in the center. Assemble, pressing the seams open.

If you are making the quilt as shown, make 8 of these blocks. If you are using only this block, make 16.
Block #2:

To assemble this block, lay your component blocks in a pinwheel formation, with the same color strips on the outside of the block. Having all the same colored sides in the center is what creates the hooked pinwheel. This block is a good one for the guideline “Look Twice, Sew Once”. Be sure it is properly laid out before you sew it, and you will save yourself a good bit of time with our little friend Jack (the Ripper)!
If you are making the quilt as shown, make 8 of these blocks. If you are using only this block, make 16.

Once you have completed all sixteen blocks, arrange them in your preferred layout. I laid mine out in a checkerboard pattern alternating Block #1 and Block #2 to achieve the secondary pattern shown.
Assemble your quilt top, and quilt as desired!
That is amazing how looking at it long enough does give a kaleidoscope feel🤣 luv it!
ReplyDeleteFascinating results! Nice tutorial for the kaleidoscope look!
ReplyDeleteThanks for the instructions! I have a bunch of solids so will try this, some scraps, some yardage. I think the FQ needs to be 21" to cut (7) 3" strips. Very fun TV test pattern block.
ReplyDeleteThank you for the tutorial for this great quilt!
ReplyDeleteWhat a gorgeous quilt! Thank you for the tutorial.
ReplyDeletewhat is the size please?
ReplyDeleteLove this project: even when you first revealed the block a while back! Your solids look so good in this! Thanks for the tutorial and for hosting the linky party. You were really missed last year.
ReplyDeleteWow! That is a cool and fun-looking quilt. I'm going to have to give that one a try. Thanks for sharing.
ReplyDeleteGreat article! 🐯Silverexch truly stands out as a reliable platform for enthusiasts looking for a seamless and exciting experience. The way you’ve highlighted its features and benefits makes it easier to understand why so many users prefer this platform. Your insights are clear and very helpful, especially for new users exploring Silverexch. Keep sharing such informative content—it’s always a pleasure to read and learn from your blogs! Looking forward to more updates on this platform. 🚀
ReplyDeleteWelcome to 1xbet – your trusted gateway to 1xBet’s world of gaming and entertainment. We provide a seamless, secure login experience for users to access live sports, casino games, and global events with ease.
ReplyDeleteExcellent content! Clear, helpful, and engaging. Thanks for sharing! Reddy Anna Book is an easy platform for cricket and sports betting with secure payments, good bonuses, and quick support. Perfect for Indian users!
ReplyDelete